CMi (Customer & Marketing Intelligence) is a cloud based unified marketing data warehouse and customer data platform. It provides the ability to:
- Collect advertising, analytics, and CRM data from first and third-party sources into an integrated data model.
- Unify customer touch points across all platforms and channels.
- Link content, ad campaigns, emails, revenue, and customer data to generate AI driven insights.
- AI is leveraged to generate insights across multiple areas, including content insights, keywords/topics discovery, content generation, cross channel attribution, customer journey insights and web analytics.
By using data-driven insights you can make more informed decisions about product development, marketing, and customer engagement. You can use these insights to:
- Improve customer targeting and personalizing the customer experience to elevate customer satisfaction.
- Optimizing businesses with your marketing spend leading to a higher ROI on marketing investments.
- Tracking customer across multiple touchpoints with the deeper insights into the sales funnel.
- Maximizing your online visibility and competitive advantage by identifying a complete list of websites within your niche, allowing you to go beyond just your direct competitors.
- Sign-In to Electrik.AI Once you’re signed in, on the Home Page just click on Admin.
- To access your projects, click on the “Projects” option in the Navigation bar.
- To enable CMi, click on the desired project.
- Activate Customer & Marketing Intelligence by toggling the button to the “On” position.
Congratulations! CMI has been successfully enabled on your project. Detailed Steps Here.
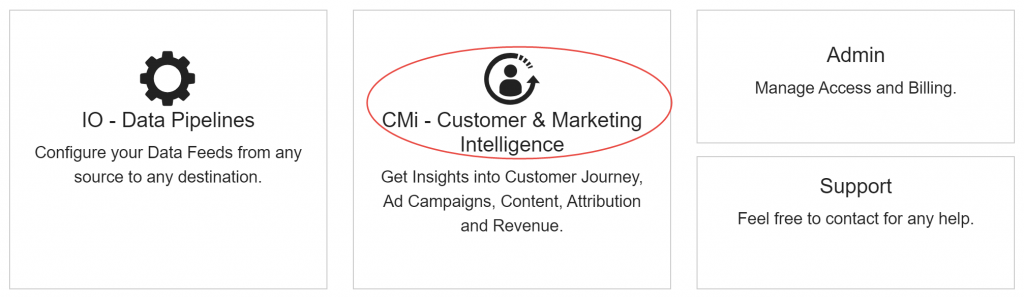
- Sign-In to Electrik.AI Once you’re signed in, on the Home Page just click on the CMi.
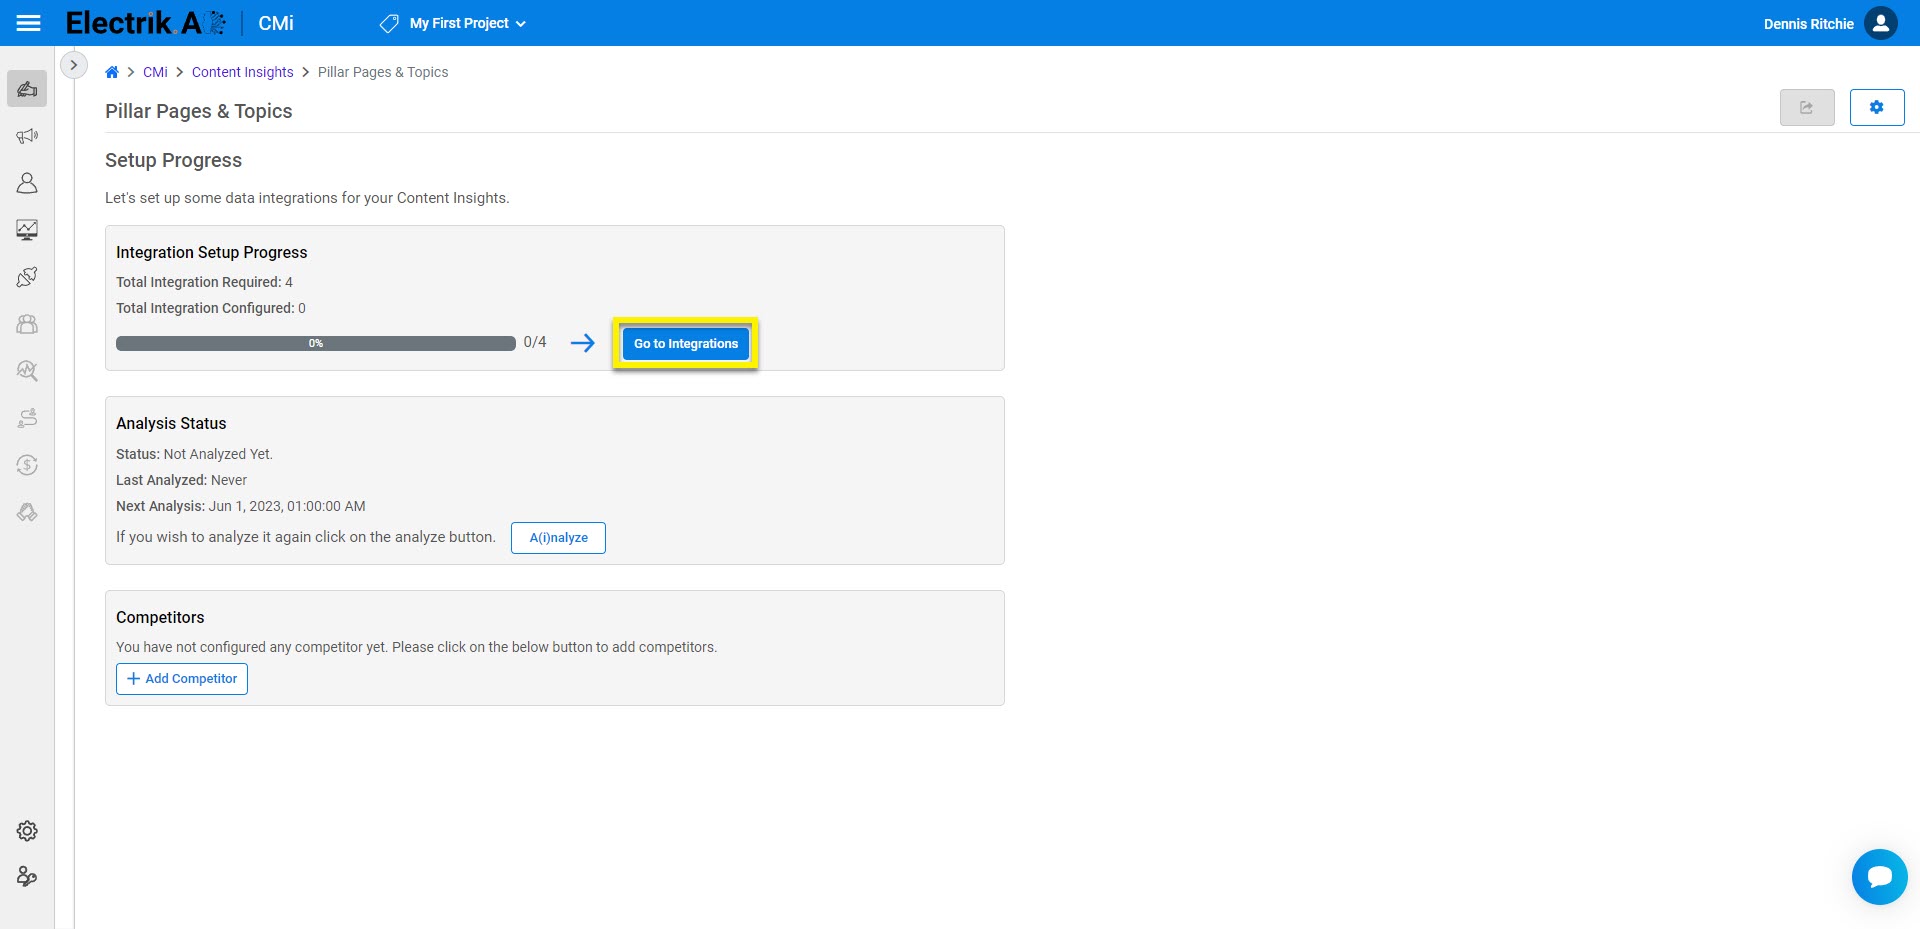
- To generate insights, you need to set up data integration only once. This should be done during your initial use of the platform.
- Click on the Go to Integration.
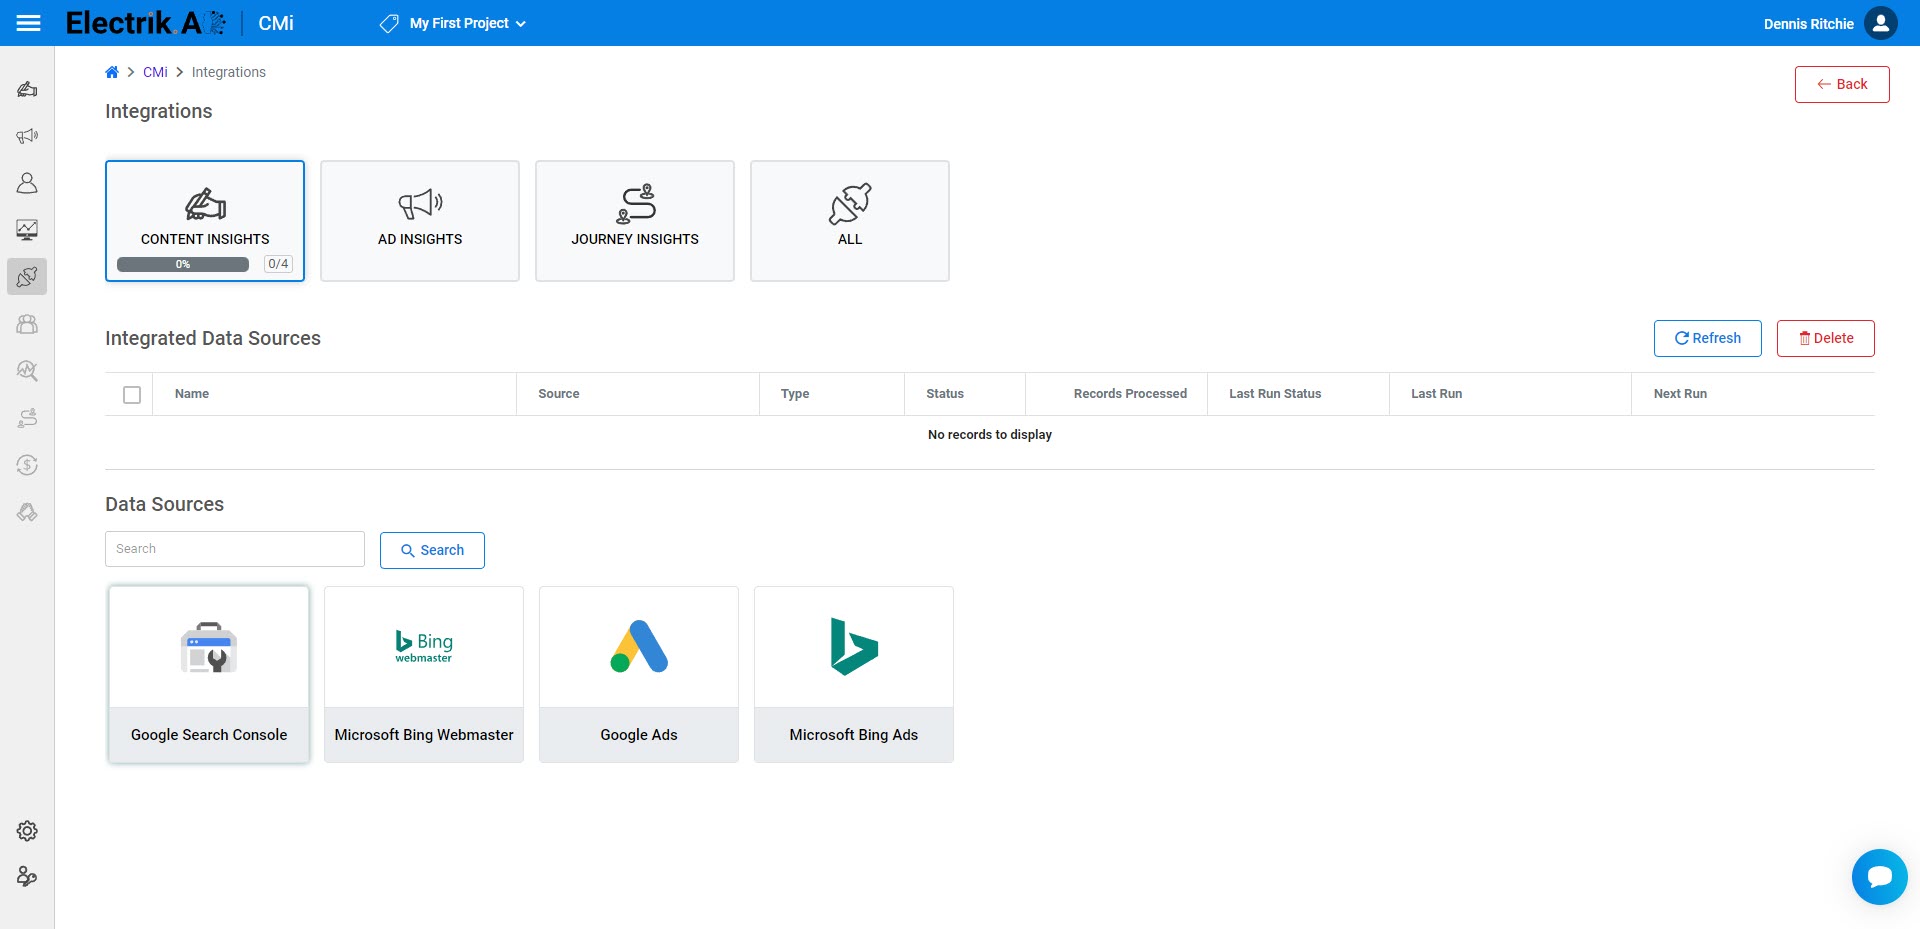
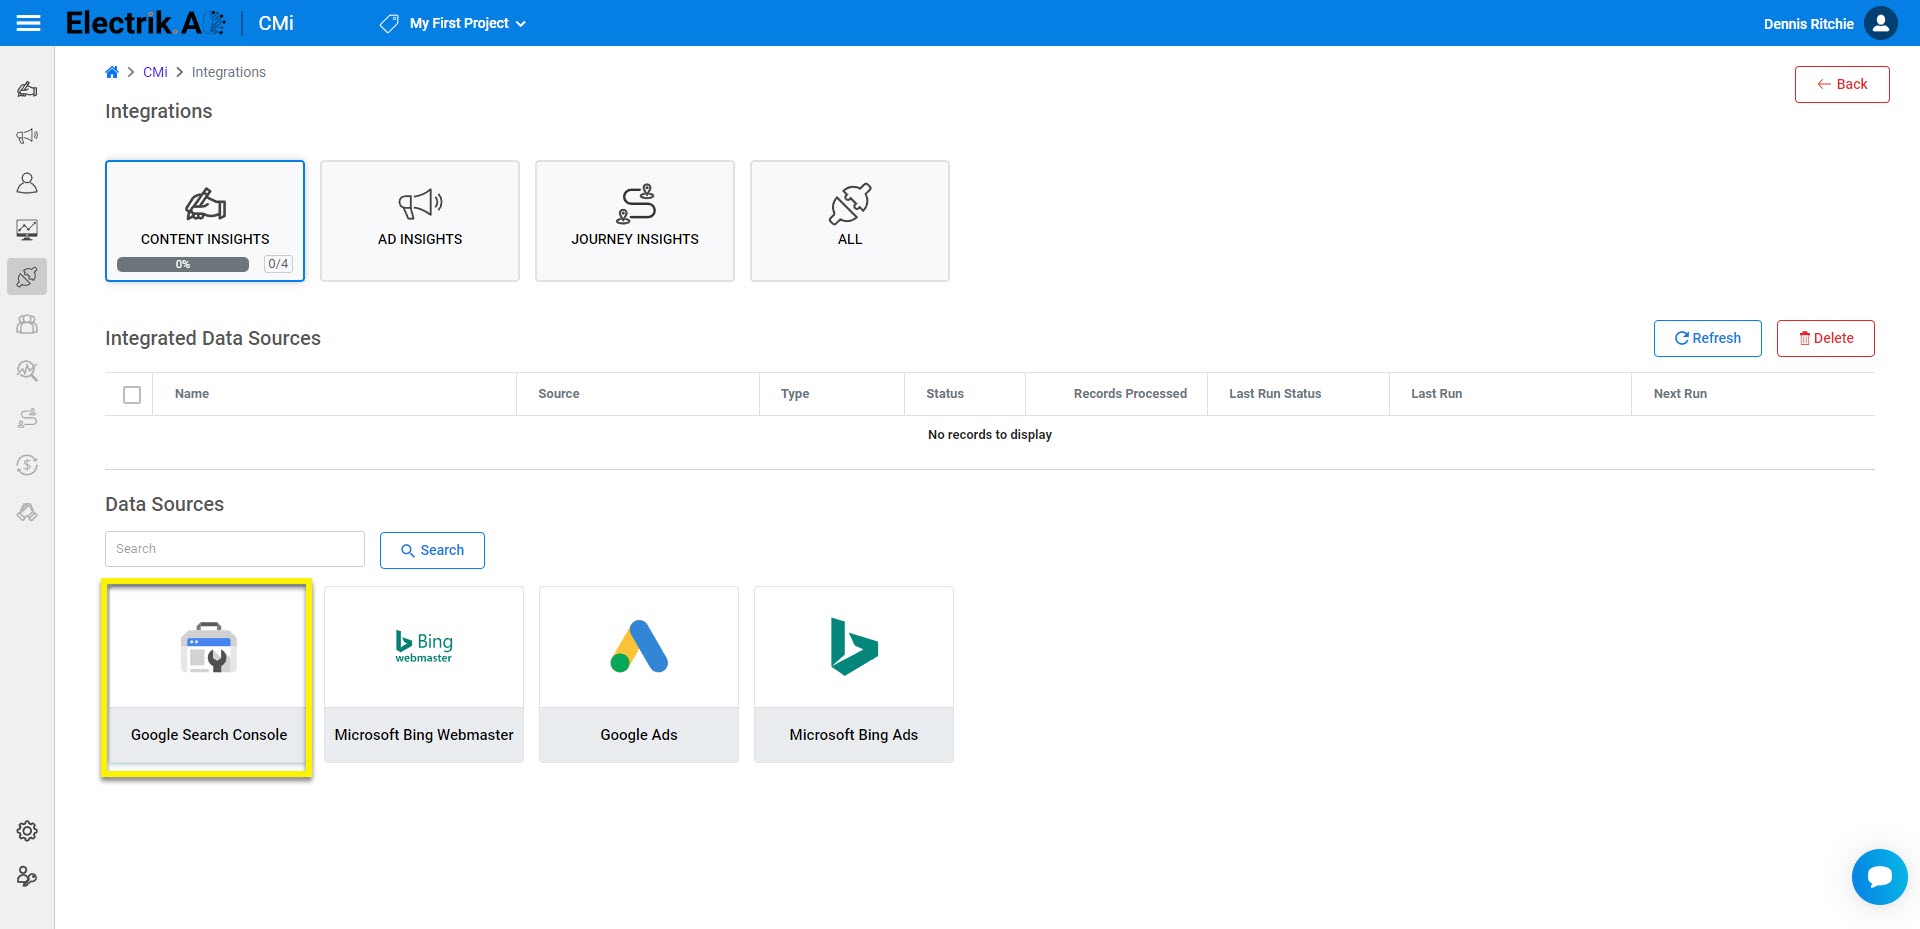
- To begin receiving insights, simply select the category that suits your needs, whether it’s Ads, Content, or Journey. You have the option to choose one or all of them depending on your preferences.
- Once you have chosen a category, select the most appropriate data source from the available options based on your specific needs and requirements.
- Setting up Google Search Console integration is the minimum requirement for generating content insights but setting up all integrations in the category will provide you with more diverse insights.
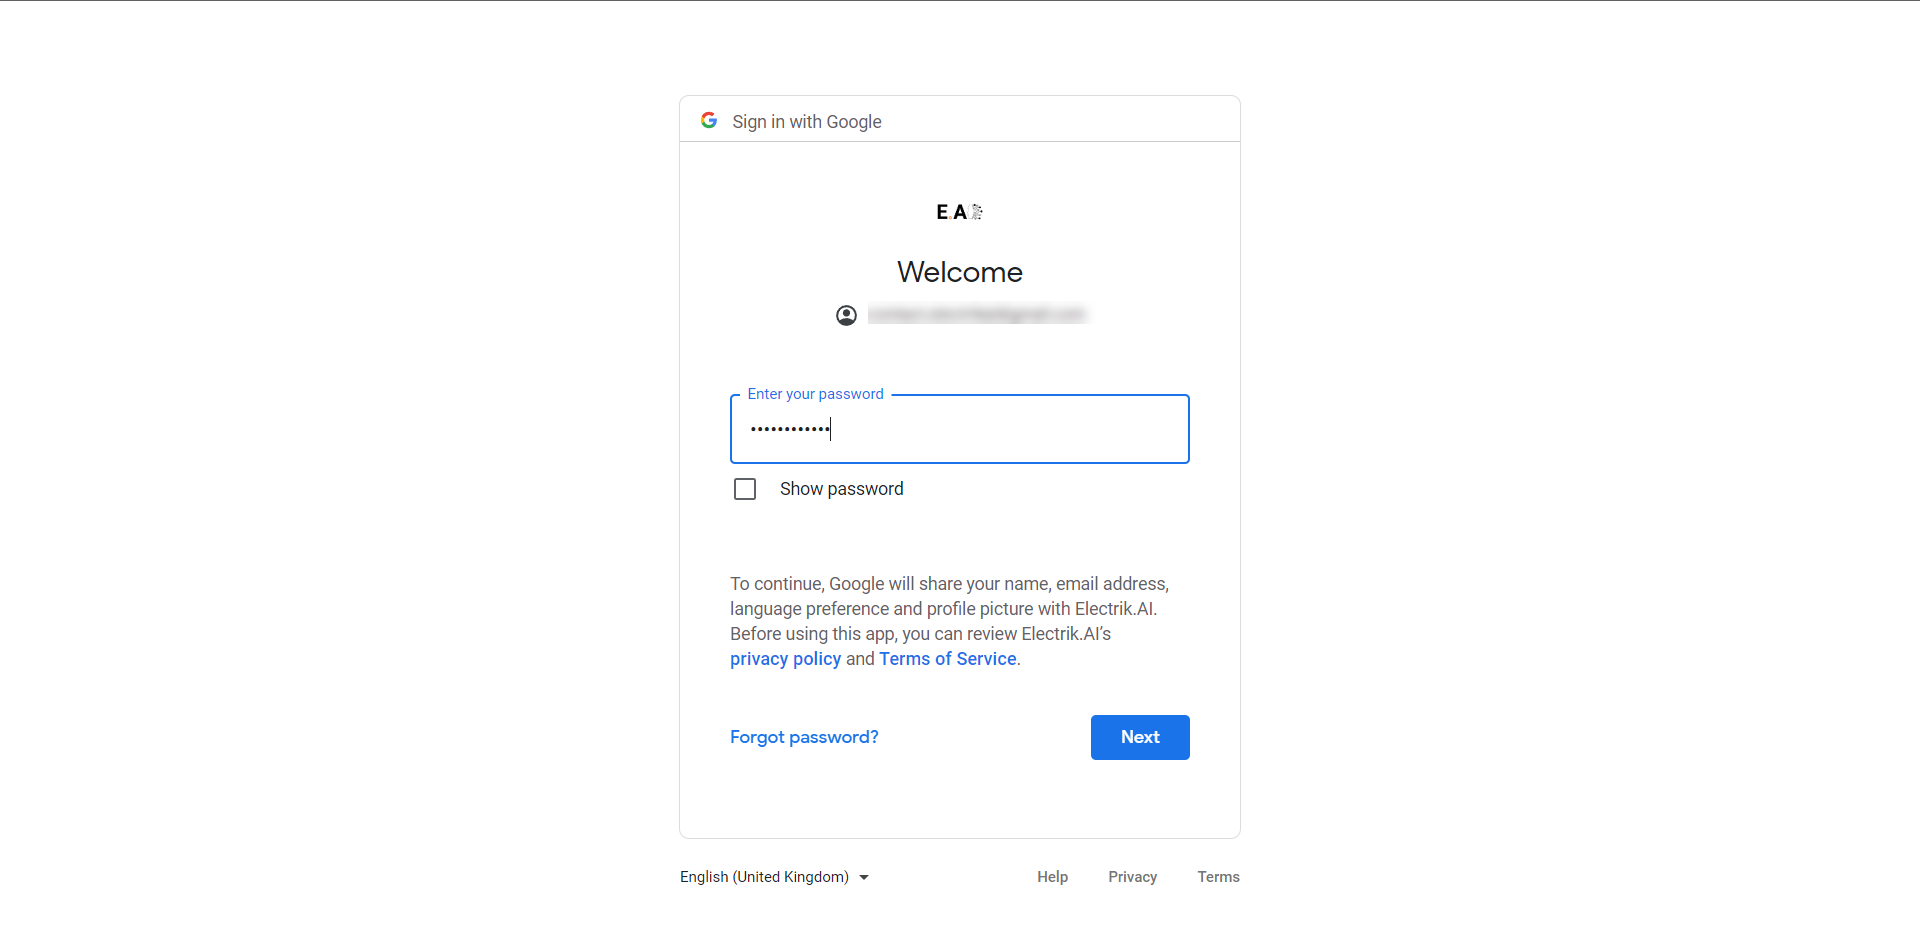
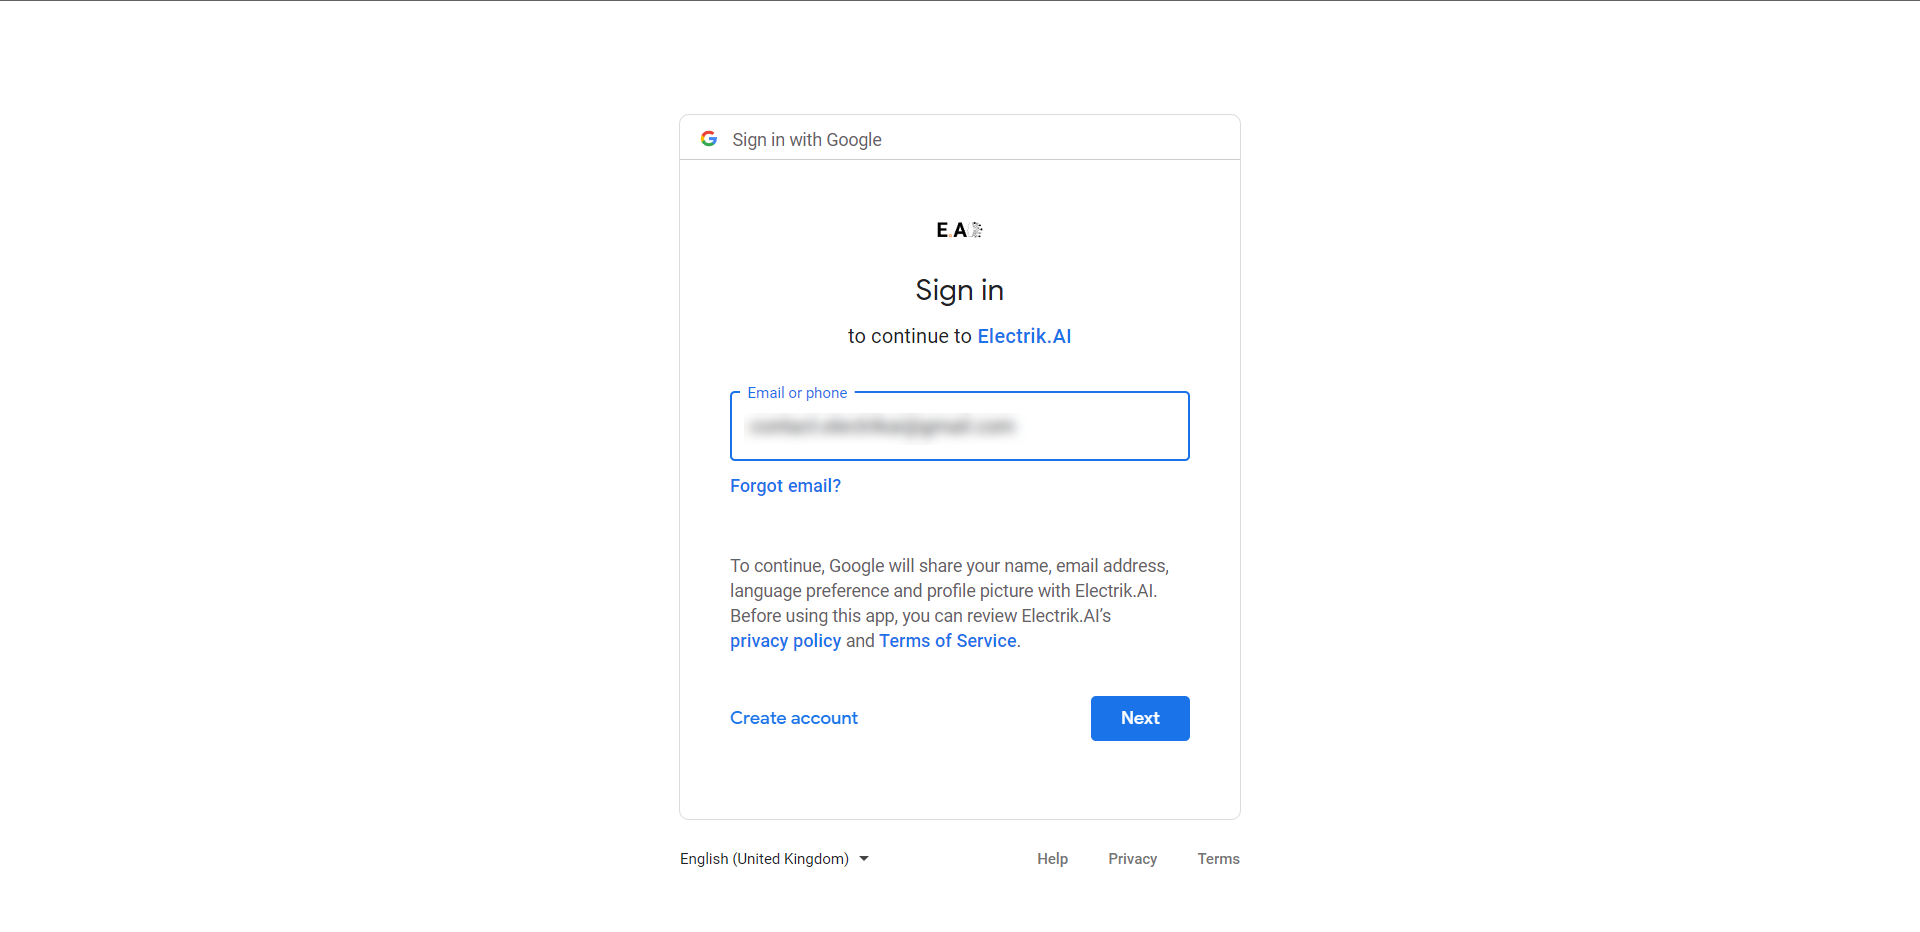
- To access the selected data source, provide your account’s user ID and password.
- Please grant Electrik.AI access to your account.
- Once you have made your selection according to the instructions provided on the screen, click ‘Save & Proceed’ to continue to the next stage.
Congratulations on successfully setting up the integration for your chosen data source in Electrik.AI!
Once the integration has been created successfully, you will receive a confirmation email. Please note that it may take up to 24 hours for your integration to begin generating insights. Upon successful execution of any one of the integration, you will receive an email containing further instructions. Detailed Steps Here.
Note: You can currently generate the Content Insights. We are working on launching other insights soon, so stay tuned for updates.
Step 1: Sign-In to Electrik.AI, On the Home Page, at the bottom right of the screen click on Configuration.
Step 2: Click on respective feature to set up or review the configurations.
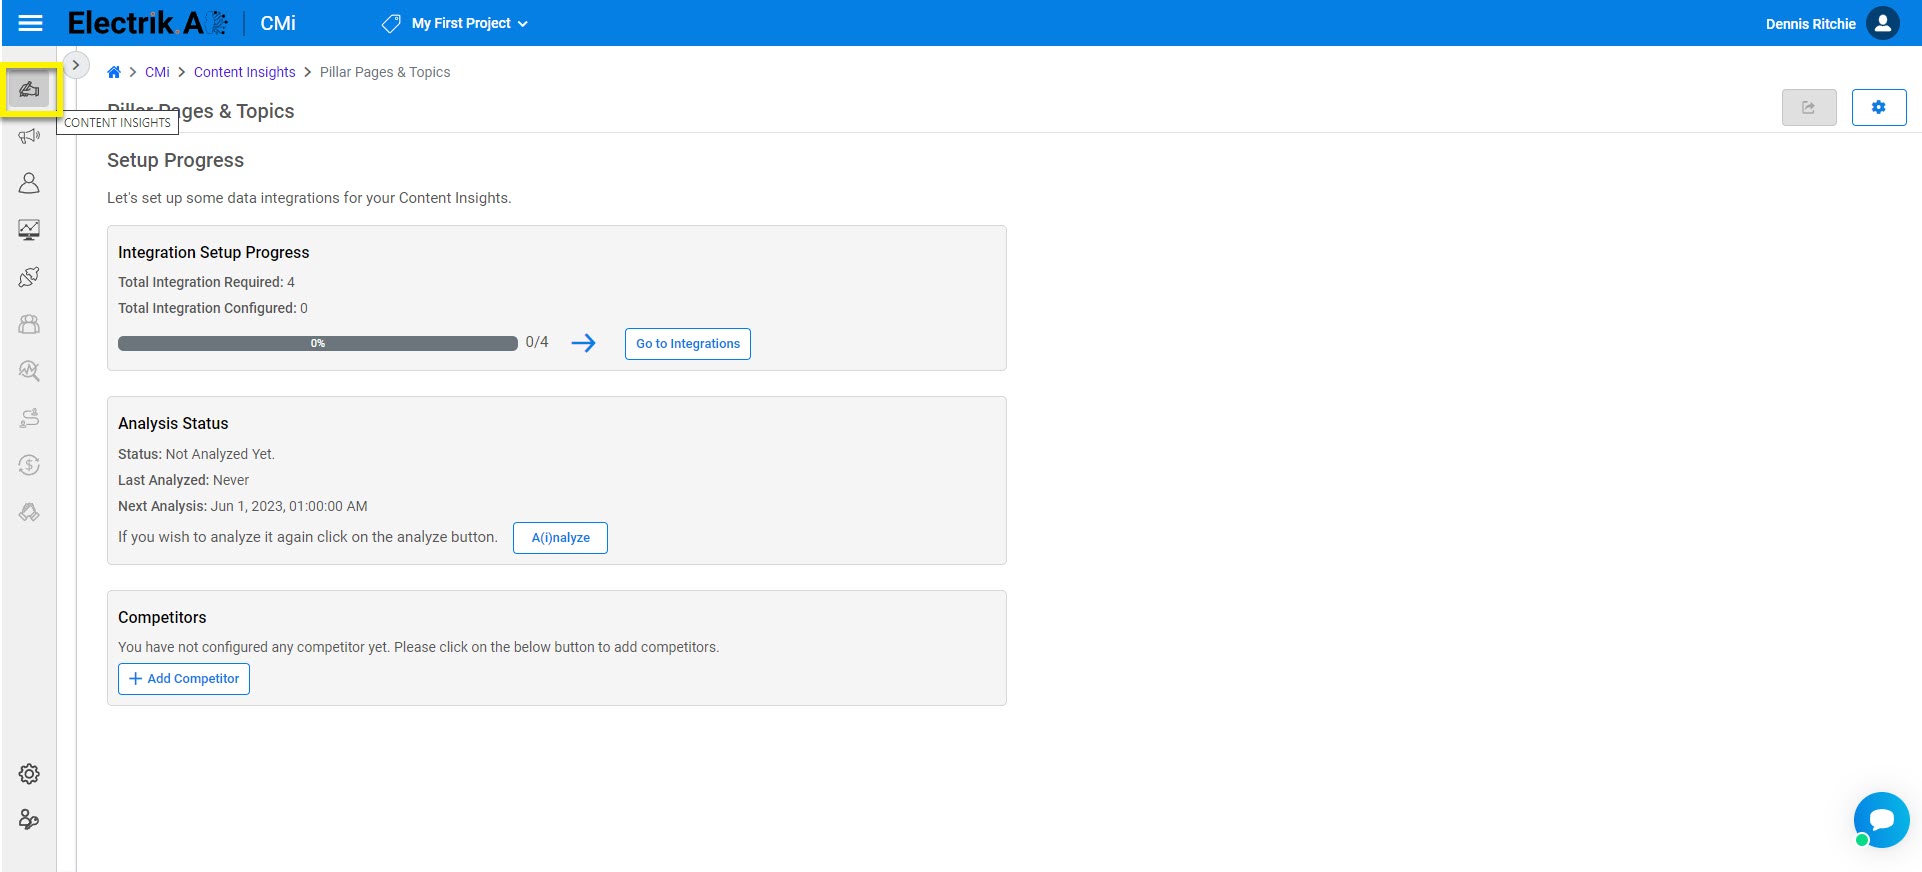
Step 1: Reviewing Setup Progress
Step 1: Sign-In to Electrik.AI. Once you’re signed in, on the Home Page just click on the Admin icon.
Step 2: To access your projects, click on the “Projects” option in the Navigation bar.
Step 3: To enable CMi, click on the desired project.
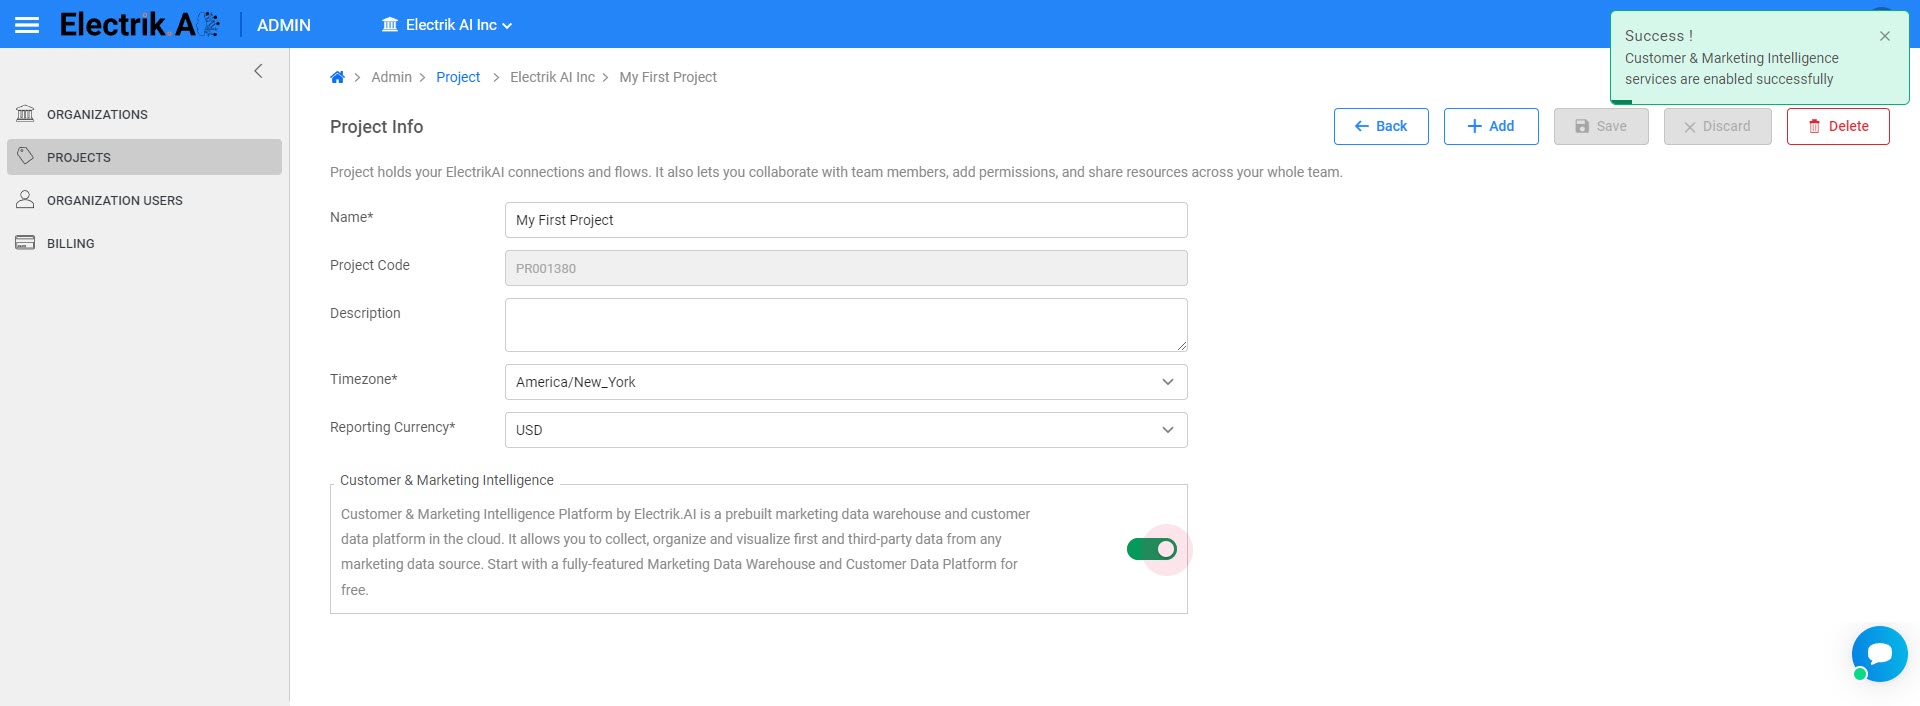
Step 4: Activate Customer & Marketing Intelligence by toggling the button to the “On” position.
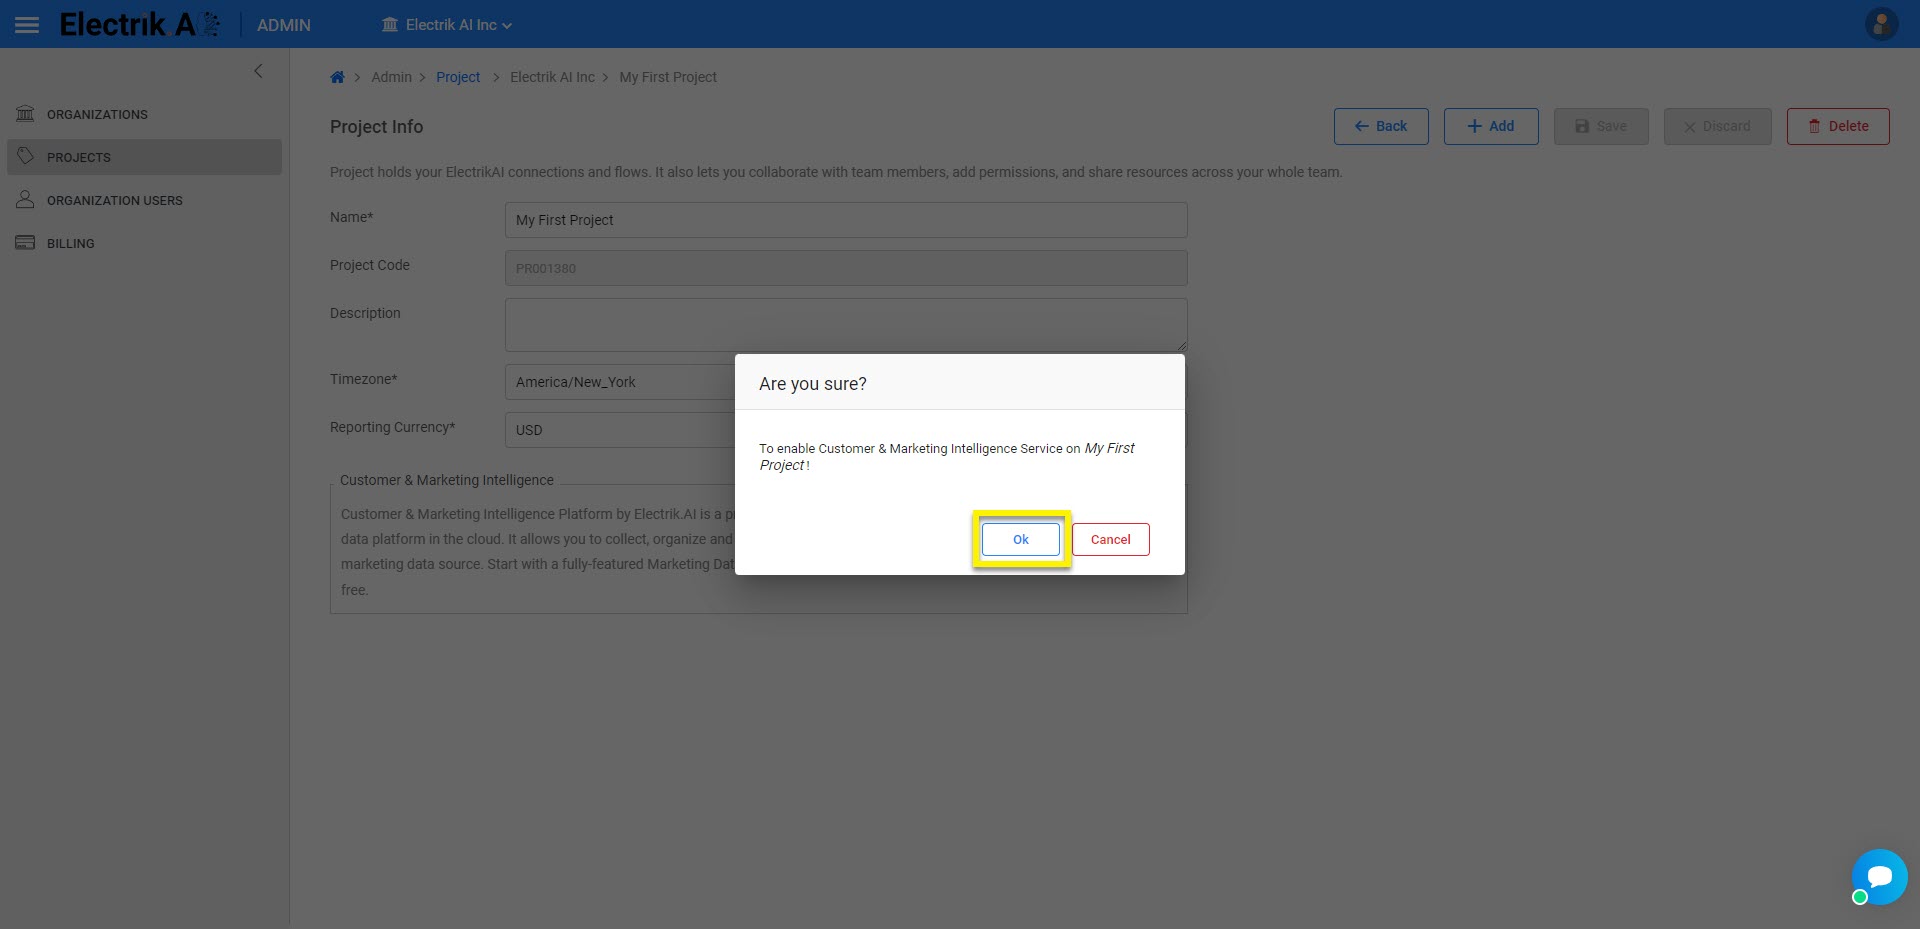
Step 5: Please confirm to enable Customer & Marketing Intelligence for your project, Click OK.
Step 6: Congratulations! you have successfully enabled Customer & Marketing Intelligence Platform Services for your project.
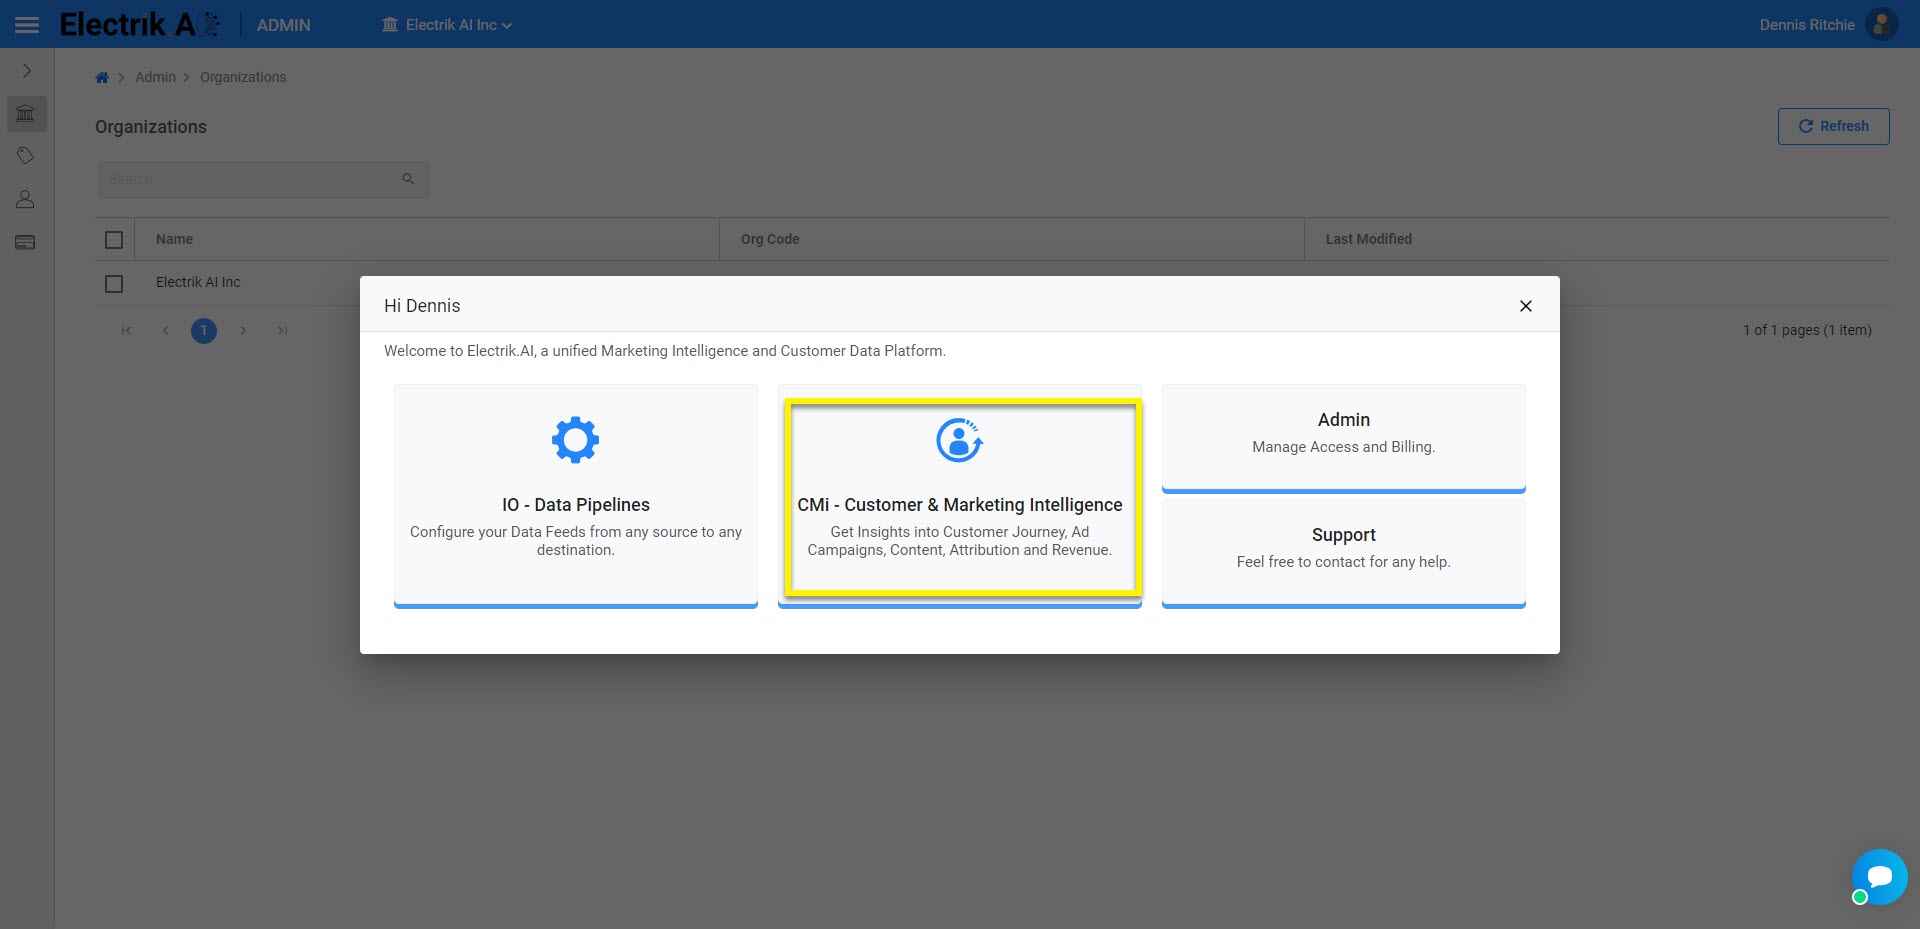
Step 1: Sign-In to Electrik.AI. Once you’re signed in, on the Home Page just click on the CMi icon.
Step 2: Click on the Go to Integration.
Step 3: Choose Google Search Console data source.
Step 4: Provide your account’s user ID and password.
Step 5: Please grant Electrik.AI access to your account.
Step 6: Choose your Site URL, for which you want to get insights.
Step 7: Click the ‘Save & Proceed’.
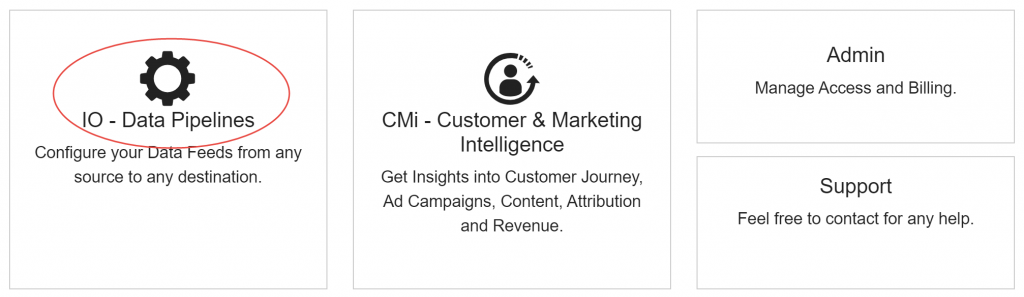
Step 1: Sign-In to Electrik.AI, On the Home Page, click on IO
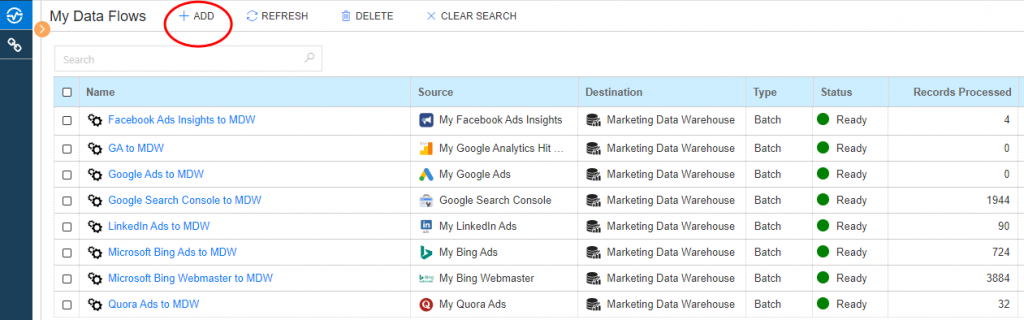
Step 2: On the Navigation bar, click Data Flows.
If you’re using the compact Navigation bar, click the Data Flows icon.
If you’re using the expanded Navigation bar, click Data Flows.
Step 3: Click on the ADD action button on top.
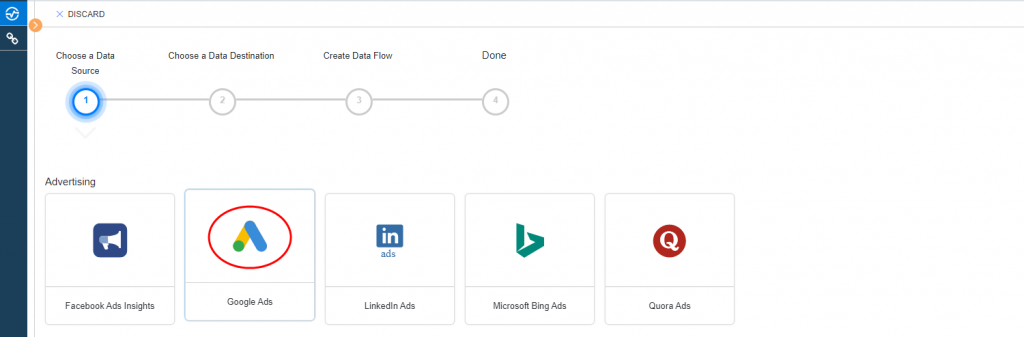
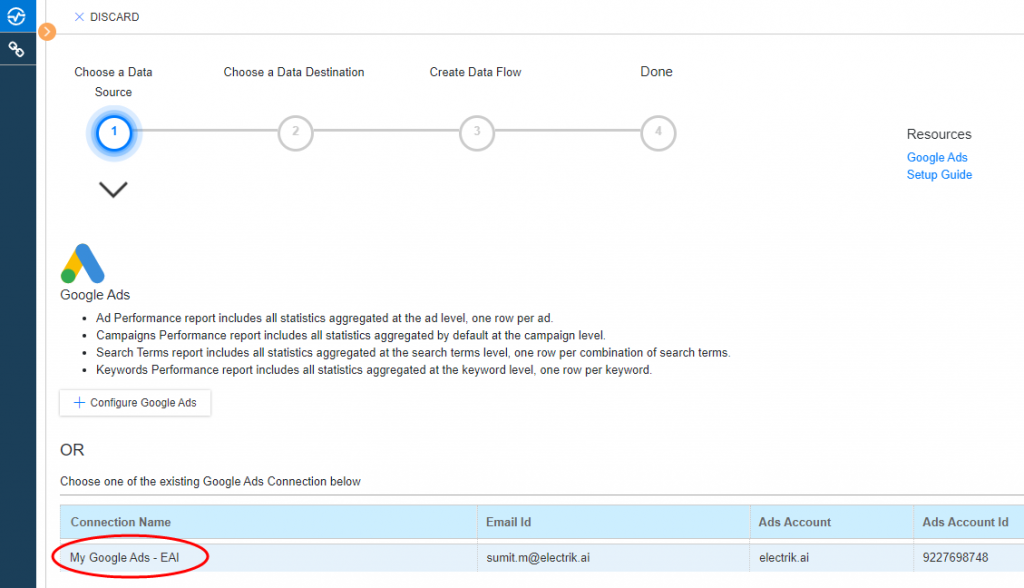
Step 4: Choose a Data Source, (let’s say) we choose Google Ads.
Step 5: Select your existing Google Ads connection. To Configure a new connection, refer this link.
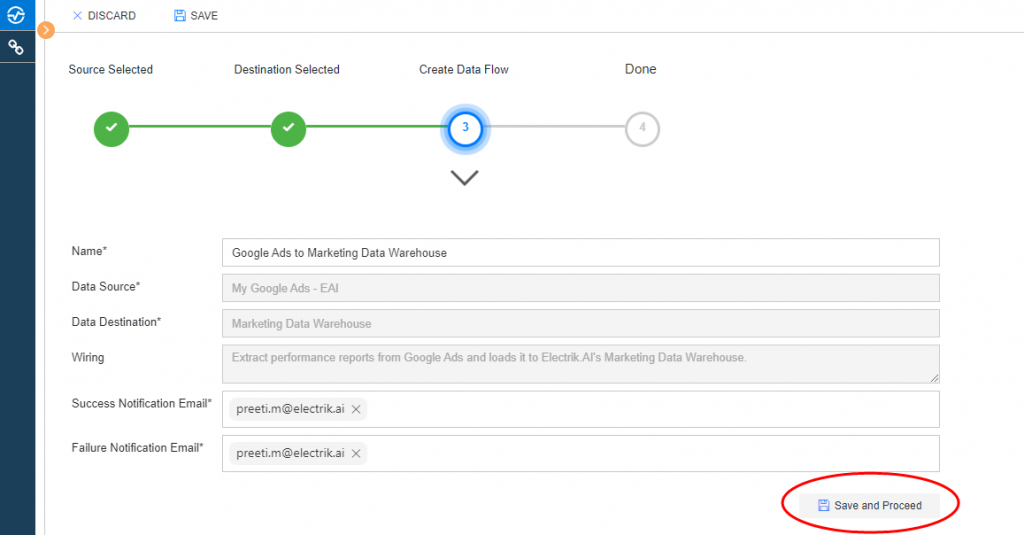
Step 6: Choose a Data Destination, Electrik.AI.
Step 7: Click on Save and Proceed.
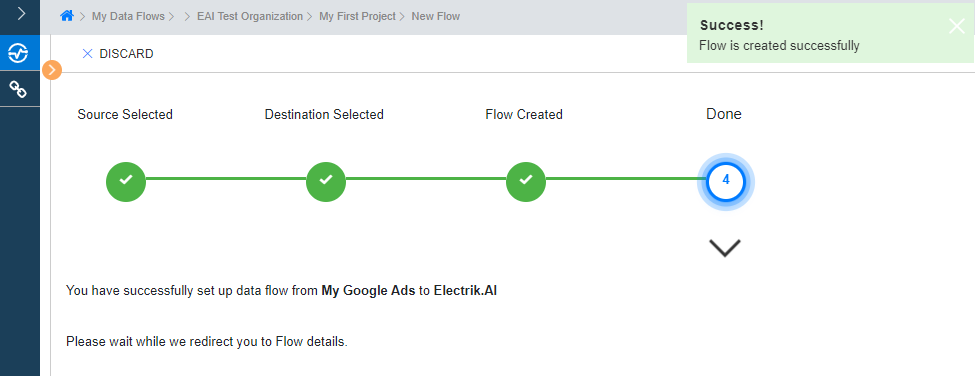
Step 8: Flow is created successfully.
Step 1: Sign-In to Electrik.AI, On the Home Page, click on CMi.
Step 2: Click on Ad Insights.
Step 3: To view or export marketing intelligence for cross platform ad insights, click on Cross Platform ROAS.
Step 4: To view or export marketing intelligence for cross platform ad insights, click on Cross Channel ROAS.
Step 5: To view or export marketing intelligence for google ads, click on Google Ads.
Step 6: To view or export marketing intelligence for Facebook ads, click on Facebook Ads.
Step 7: To view or export marketing intelligence for LinkedIn ads, click on LinkedIn Ads.
Step 8: To view or export marketing intelligence for Quora ads, click on Quora Ads.
Step 9: To view or export marketing intelligence for Microsoft ads, click on Microsoft Bing Ads.
Follow these steps to connect your Google Ads account to Electrik.AI
Step 1: Ensure you have following prerequisites to create a Google Ads Connection in Electrik.AI
a. Google Ads Account User Id and Password.
Step 2:Signup for your Electrik.AI account.
Step 3:Sign-In to Electrik.AI, On the Home Page, click on IO.
Step 4: On the Navigation bar, click Connections.
If you’re using the compact Navigation bar, click the Connections icon.
If you’re using the expanded Navigation bar, click Connection.
Step 5: Click on the ADD action button on top.
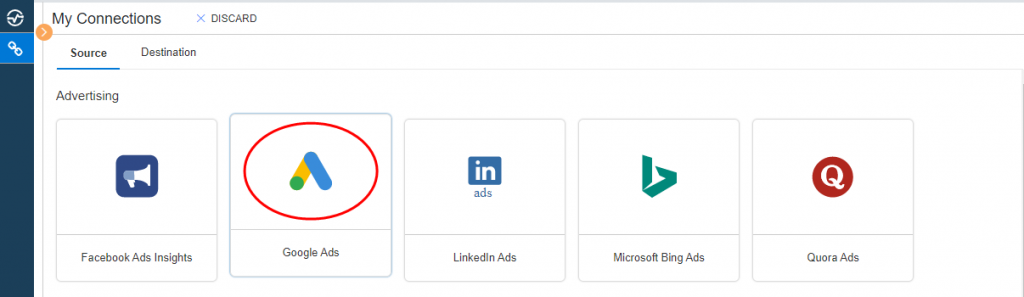
Step 6: Choose a Data Source, choose Google Ads connection.
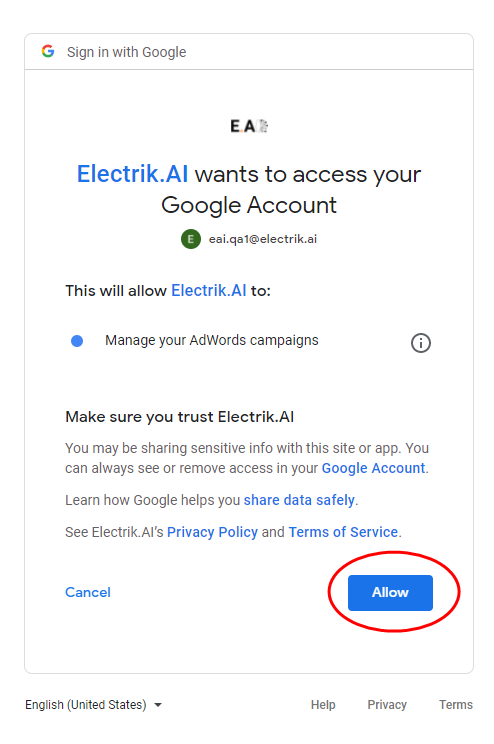
Step 7: Enter your Google Ads User Id and Password.
Step 8: Allow Electrik.AI to access your Google Ads account.
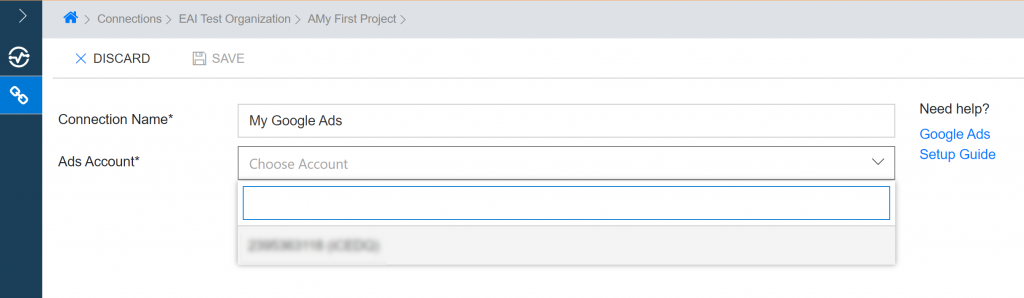
Step 9: Choose your Google Ads Account for which you want to extract data.
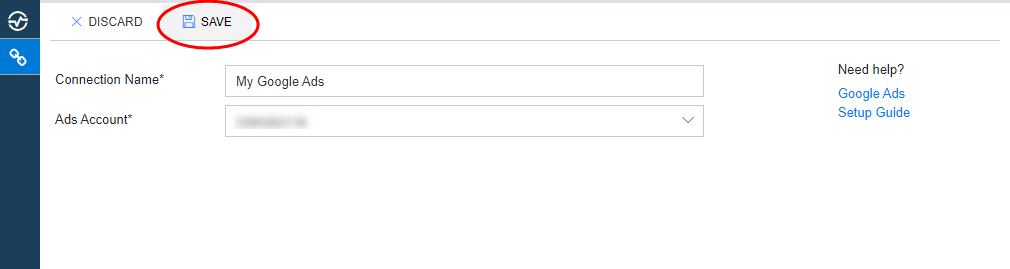
Step 10: Click on Save action button on the top.
Step 11: Congratulations, you have successfully created a Google Ads Connection in Electrik.AI.