Azure Data Lake Storage Gen1 is an enterprise-wide hyper-scale repository for big data analytic workloads. Azure Data Lake enables you to load data of any size, type, and ingestion speed at one single place for operational and exploratory analytics.
Electrik.AI exports data from your marketing data source in a file and uploads the file to a storage destination of your choice. It is important to note that Electrik.AI itself is not a destination. A destination is required to export data from various marketing data sources using Electrik.AI
Do not have an Azure account? Refer this link.
Step 1: Ensure you have following prerequisites to create a Azure Data Lake Storage Gen1 Connection in Electrik.AI
- a. Azure Data Lake Storage Gen1 Account Application Id and Access key.
- b. Access to Azure Data Lake Storage Gen1
- c. Application Endpoint
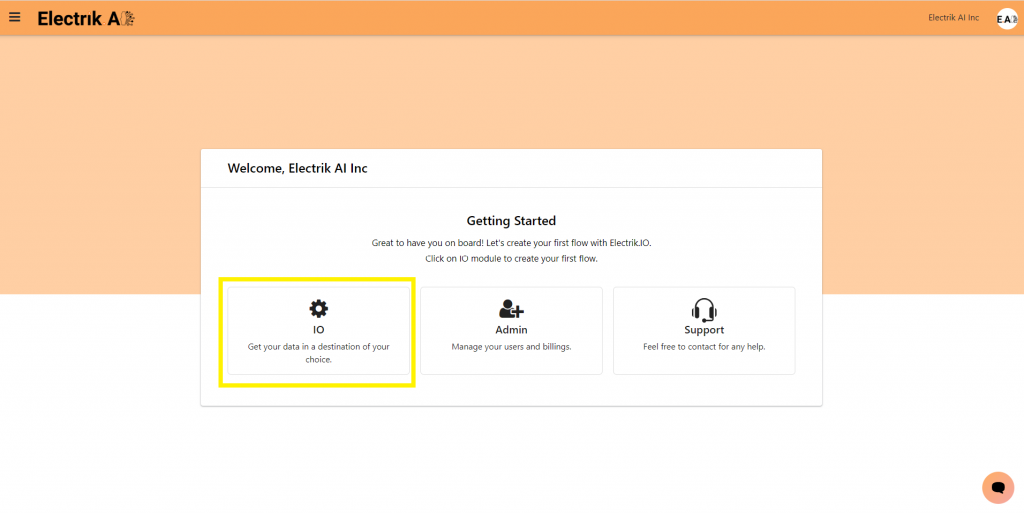
Step 2: Sign-in into your Electrik.AI account
Step 3: Select IO in Electrik.AI dashboard
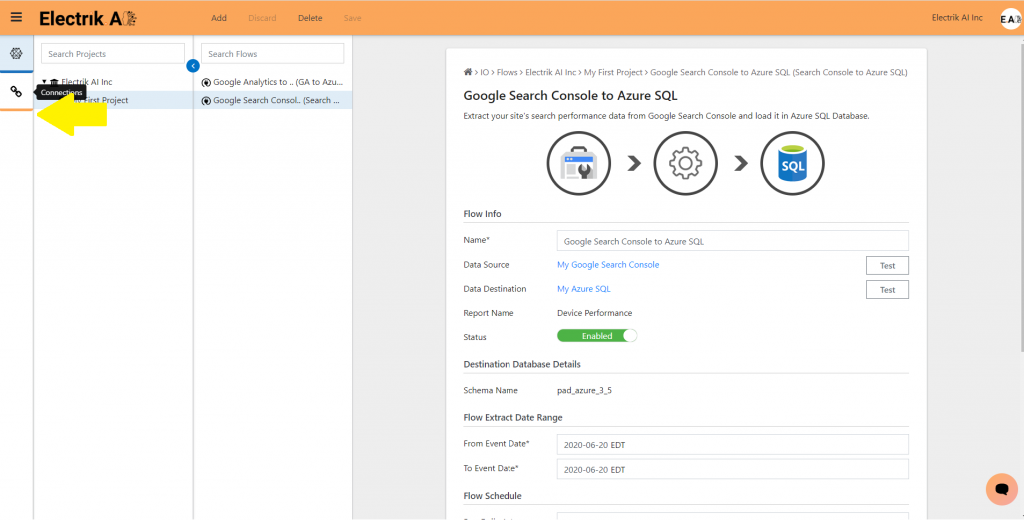
Step 4: Select the Connections tab in the left most panel.
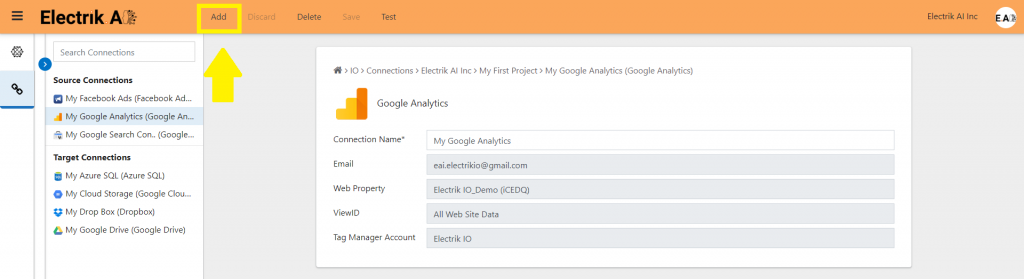
Step 5: Click on “Add” action button.
Step 6: Select Target tab and now click on “Azure Data Lake Storage Gen1” connection.
Step 7: Enter all the details (Need help to register an app and get access key? Refer here)
a. Resource Name: Provide the Data Lake name here
b. Application ID: Paste the Application Id copied in step 4a of Register an App
c. Token Endpoint: Paste the endpoint copied in step 4c of Register an App
d. Application Access Key: Paste the Application access key copied in step 8 of Register an App
Step 8: Click on Save button on the top.
Congratulations, you have successfully created Azure Data Lake Storage Gen1 connection in Electrik.AI.
Sign into Azure Portal and follow the below steps for registering an app in Azure portal and generating the Application access key and providing the access permission on the registered app. To know more refer here
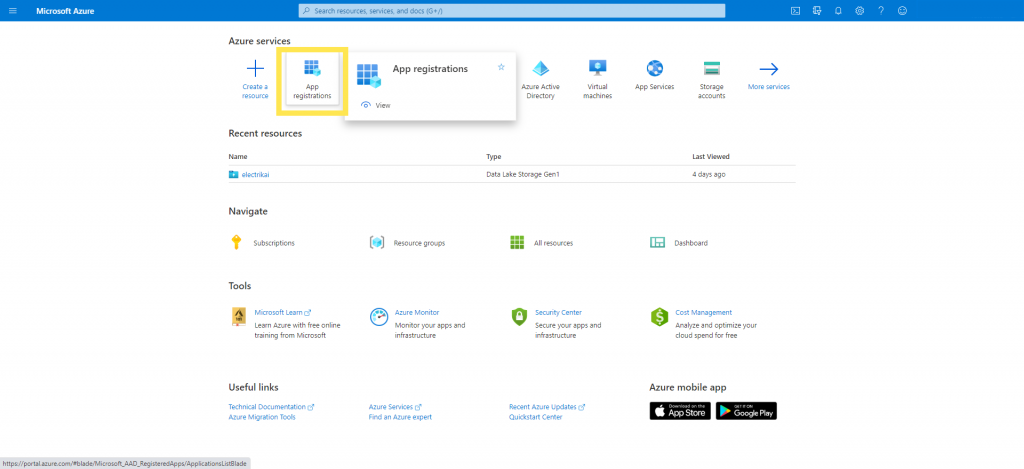
1. Click on App registration to view existing app or to register a new app
2. Click on New registration to register a new app
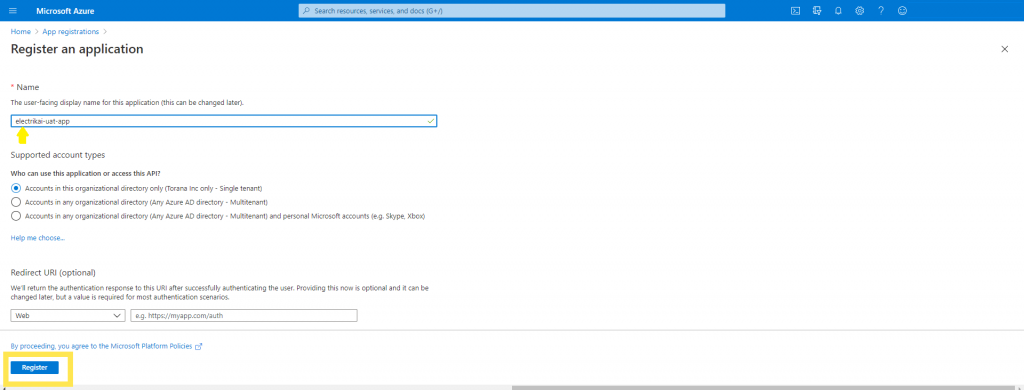
3. Provide the name of your choice to new app and click on Register
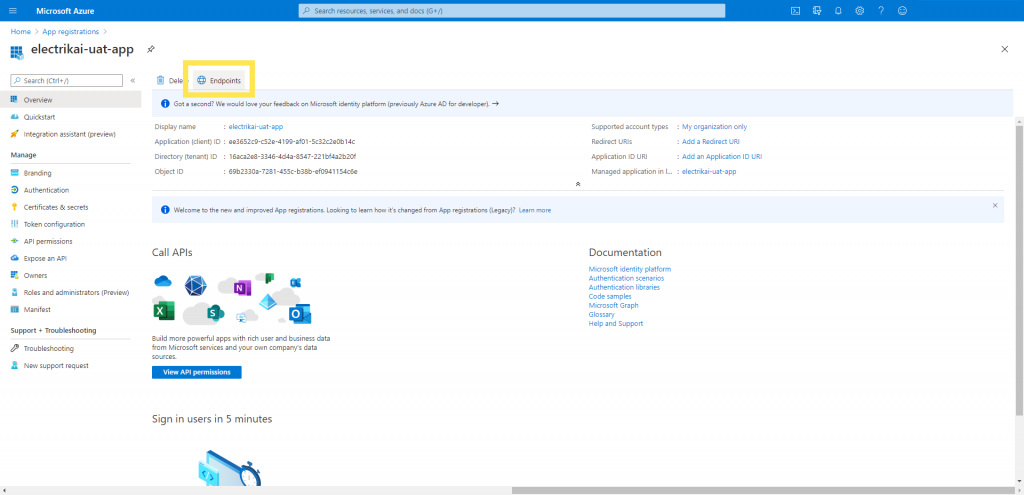
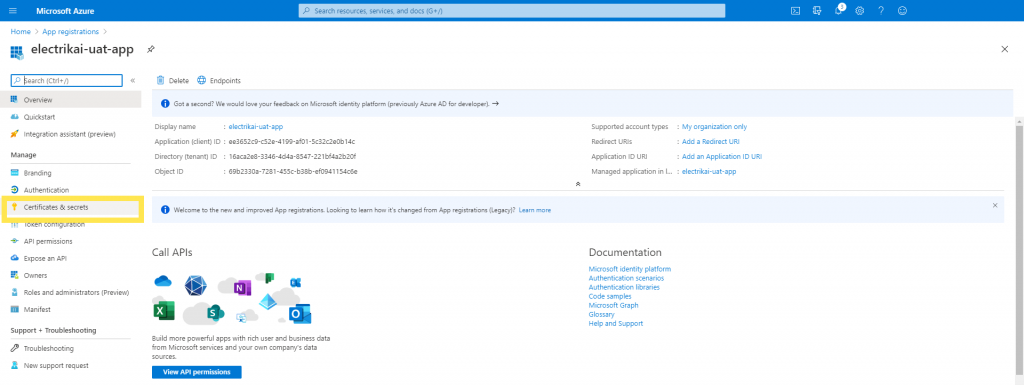
4. The new app got created with a Display name provided at the time of creation.
a. Copy the Application ID
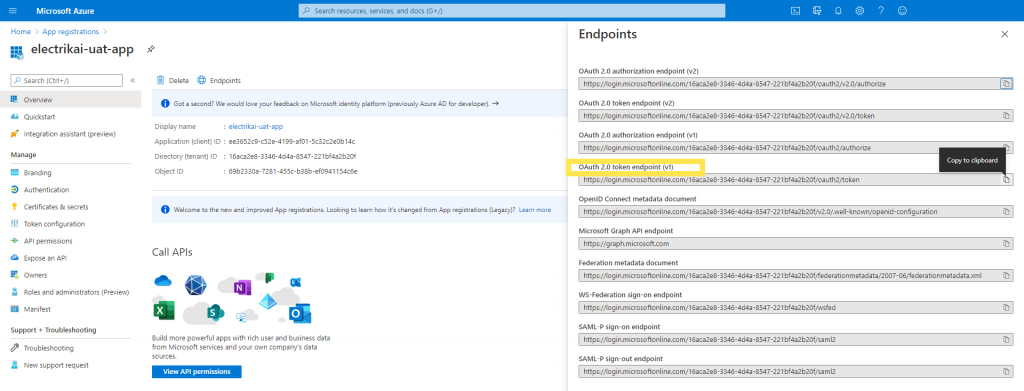
b. Click on Endpoint to copy Token Endpoint
c. Copy the OAuth 2.0 token endpoint v1
5. Click on Certificates & secrets to generate the application access key.
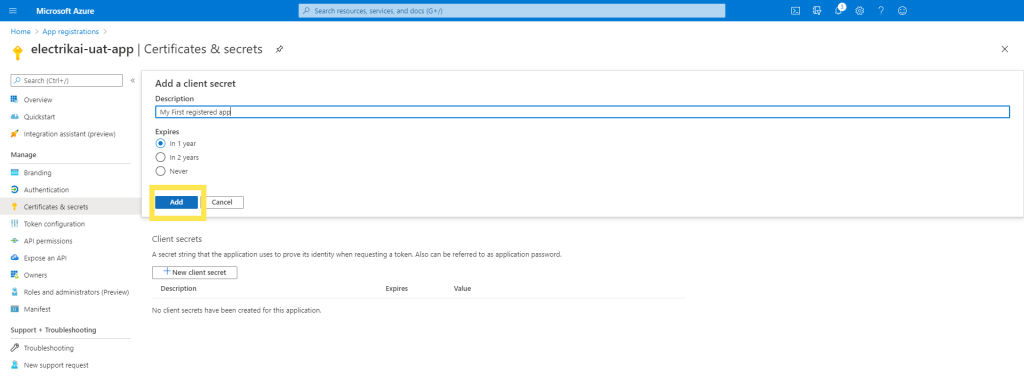
6. Click on New client secret
7. Provide a description if you wish to, choose the expires option and click on Add
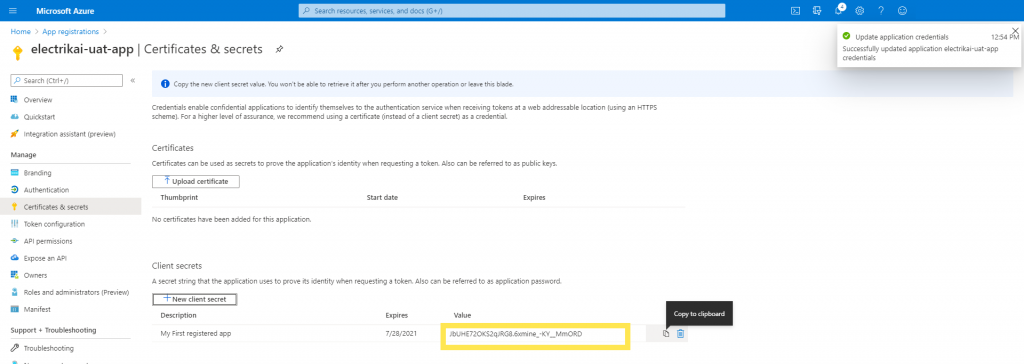
8. Application access key is generated copy it to use it in your connection
Make sure to provide the access to your registered app on the Data Lake without this connection will fail to connect
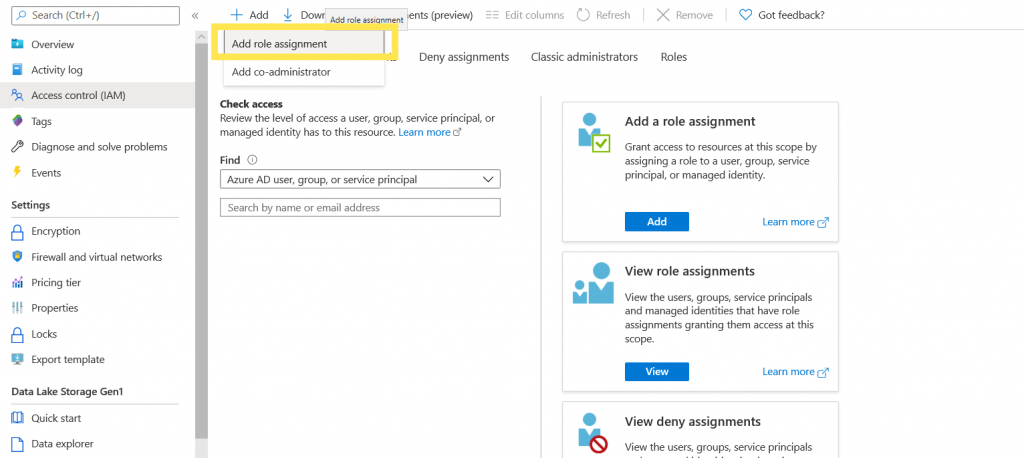
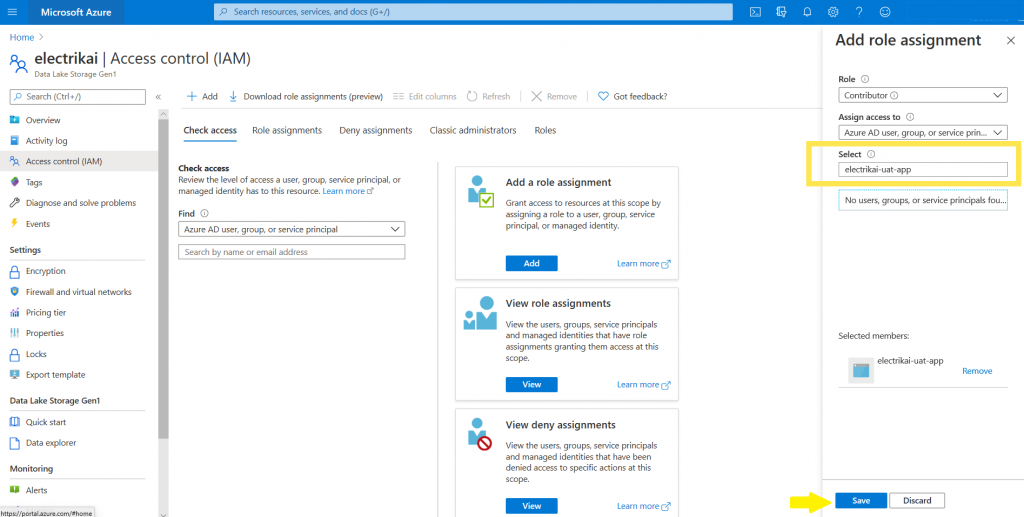
1. Adding Role Assignment.
a. Goto Access control and click on Add and choose Add role assignments.
b. Select the Role and member and click on save
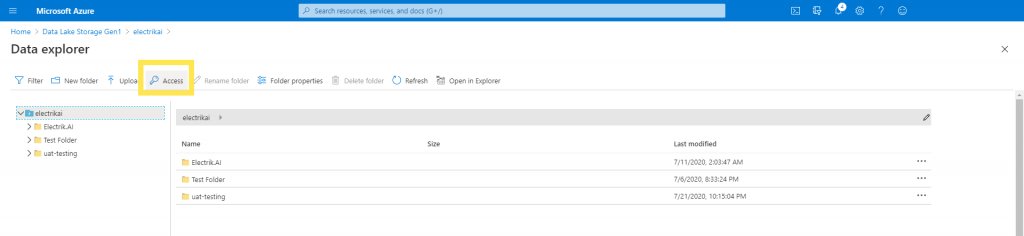
2. Adding Permissions
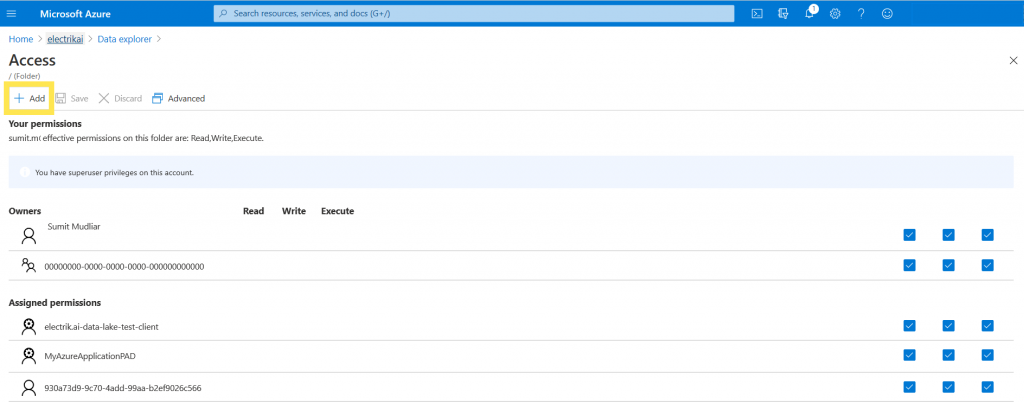
a. Click on Access
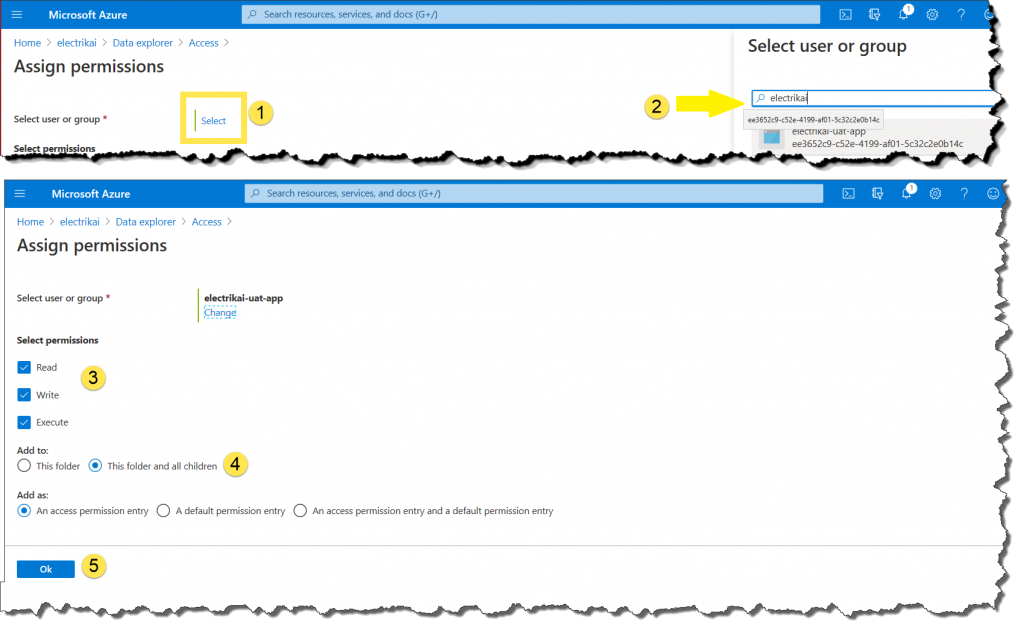
c. Select the resource, provide the permissions, and click on ok
d. The newly added app, with the associated permissions, are listed in the access blade