
Jira is a work management tool for all kinds of use cases, from requirements and test case management to agile software development. Jira Software provides scrum and kanban boards out-of-the-box. Boards provide transparency across teamwork and visibility into the status of every work item. Time tracking capabilities and real-time performance reports (burn-up/down charts, sprint reports, velocity charts) enable teams to closely monitor their productivity over time.
Jira Data Export
What is Jira?
How to add a Jira Source in Electrik.AI?
Follow these steps to connect your Jira account to Electrik.AI
Step 1: Ensure you have following prerequisites to create a Jira Connection in Electrik.AI
a. Jira Account User Id & Password.
Step 2: Sign-in into your Electrik.AI account.
Step 3: Select IO in Electrik.AI dashboard.

Step 4: Select the Connections Icon in the left most panel and click on “Add” button the top.

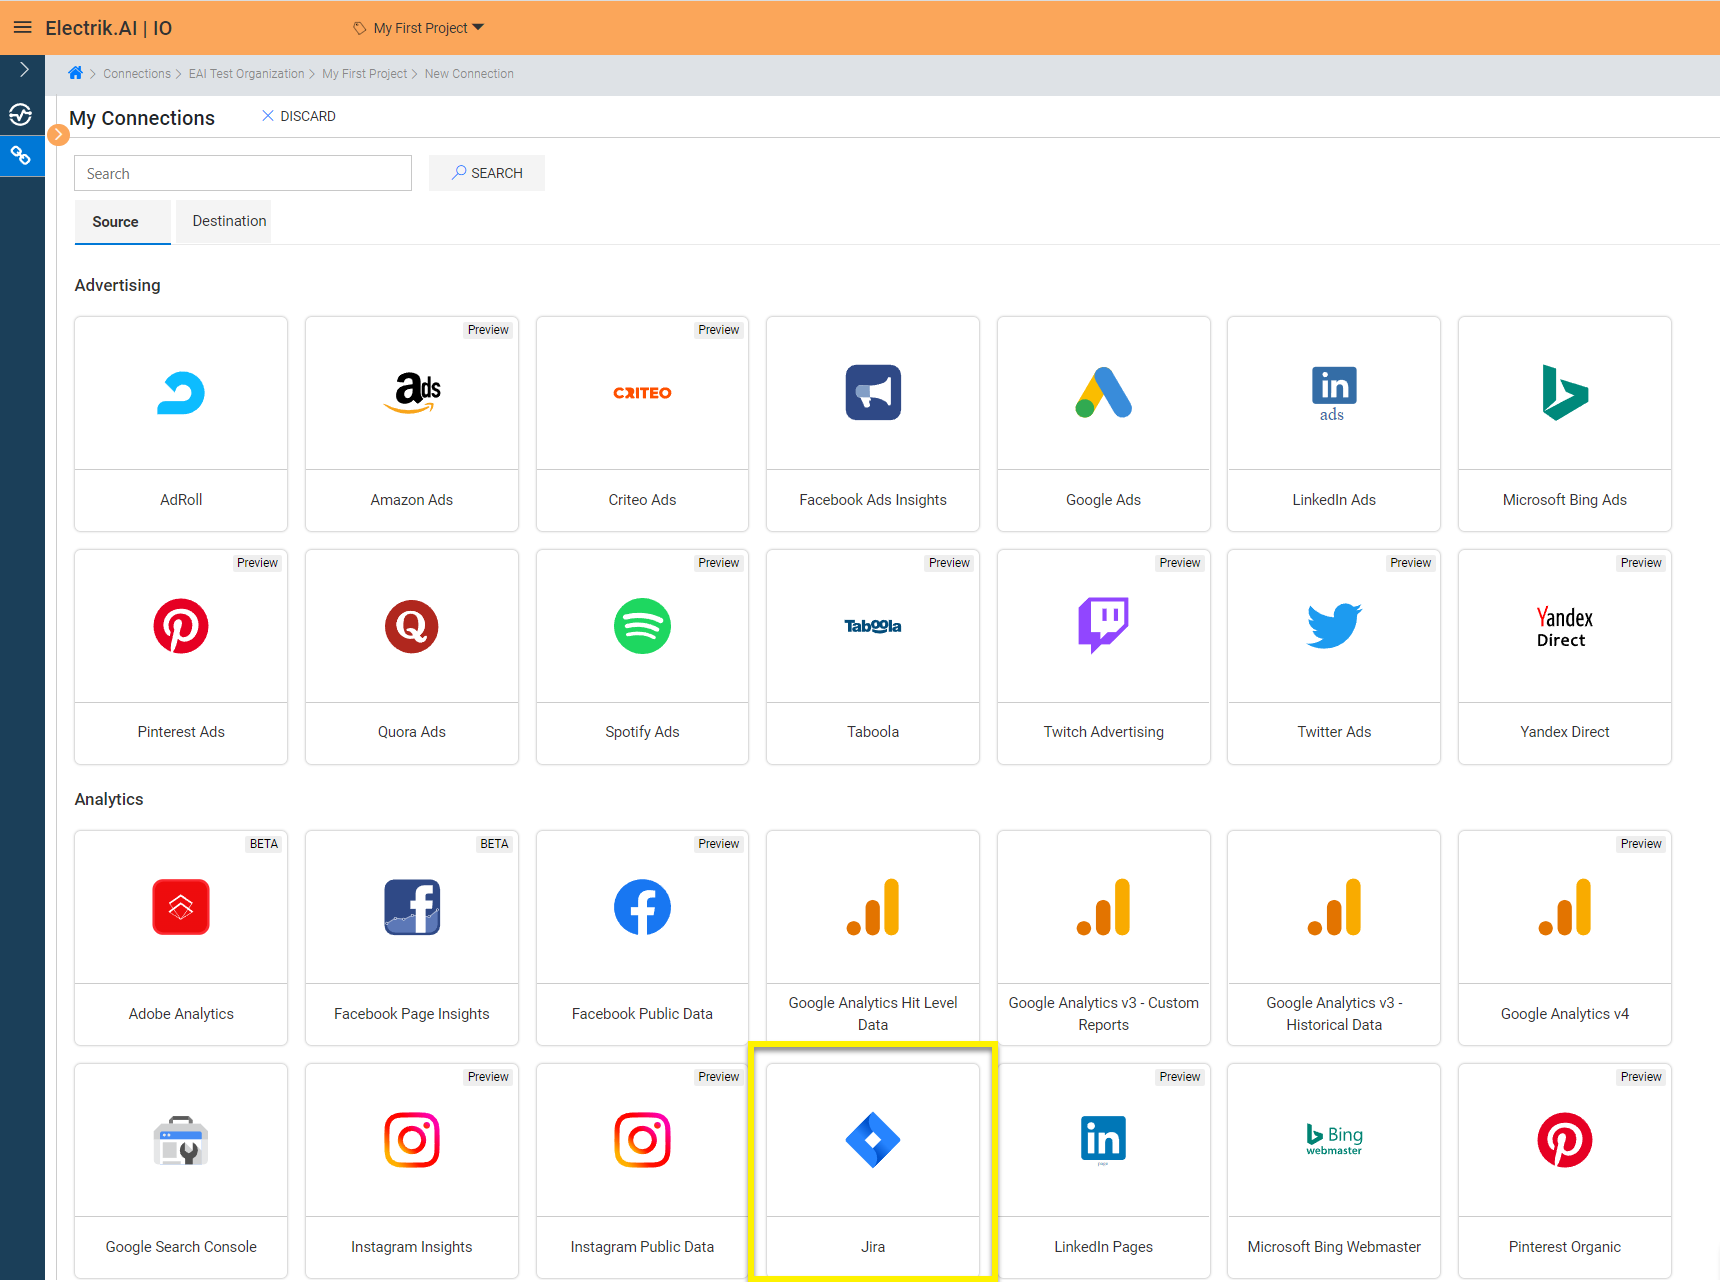
Step 5: The Source default tab is selected just click on “Jira” connection.
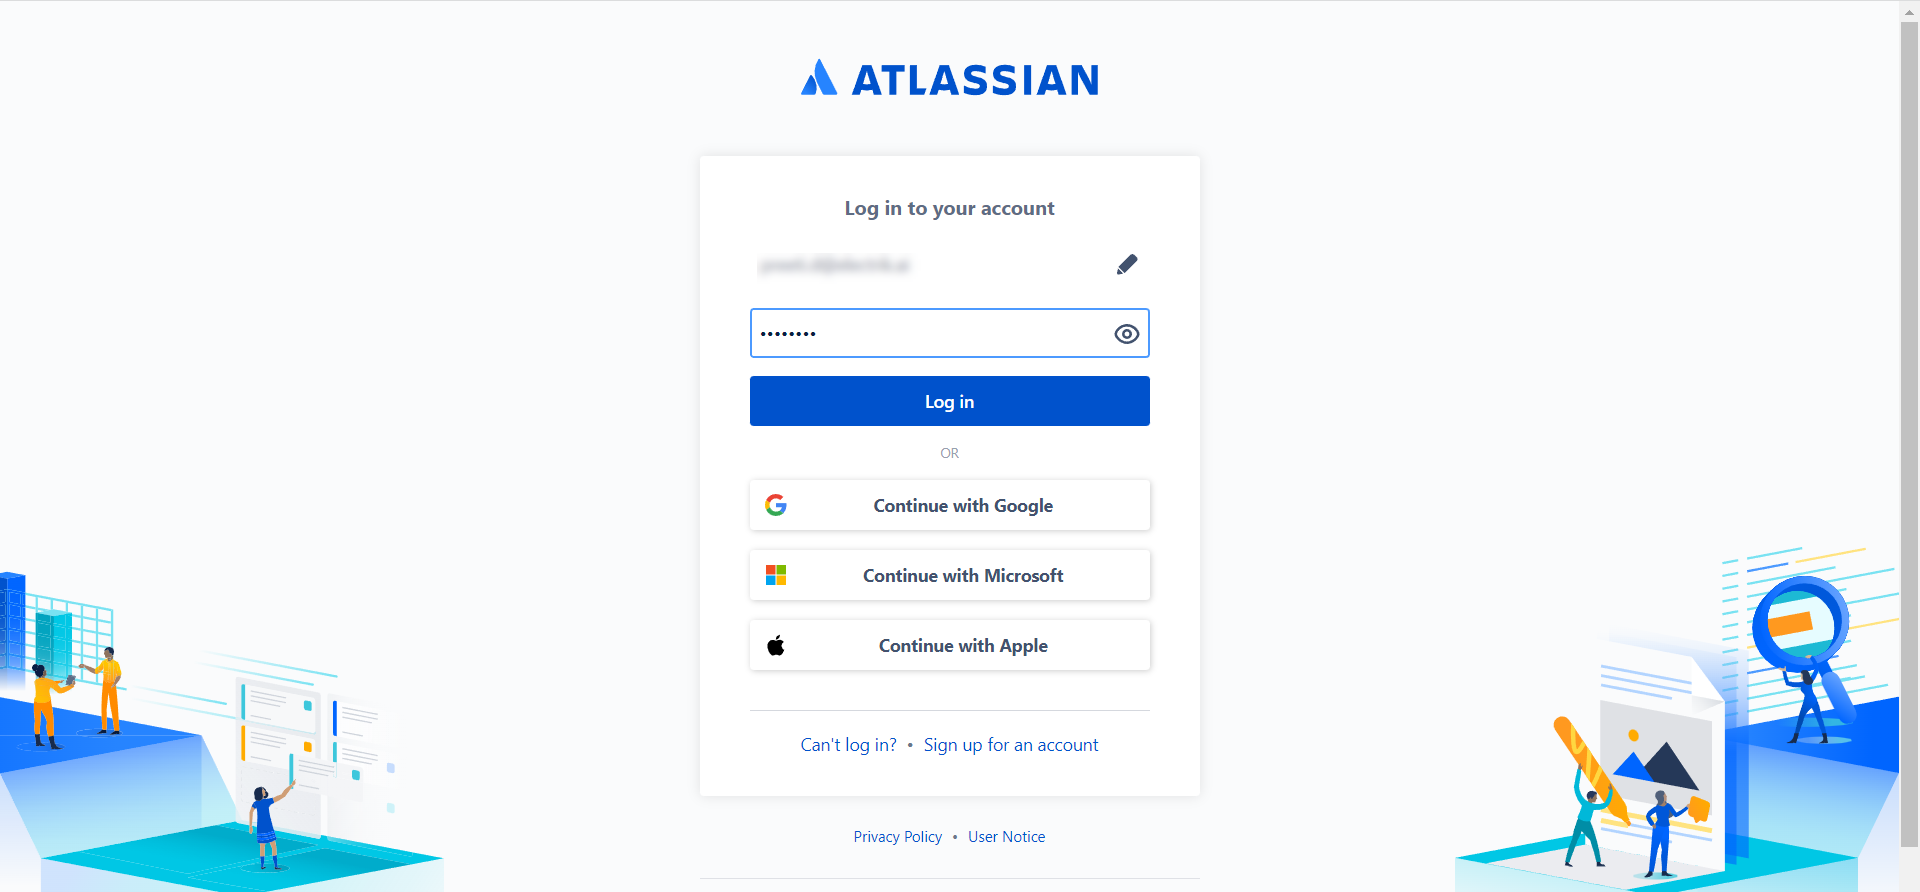
Step 6: Enter your Jira account User Id and Password.
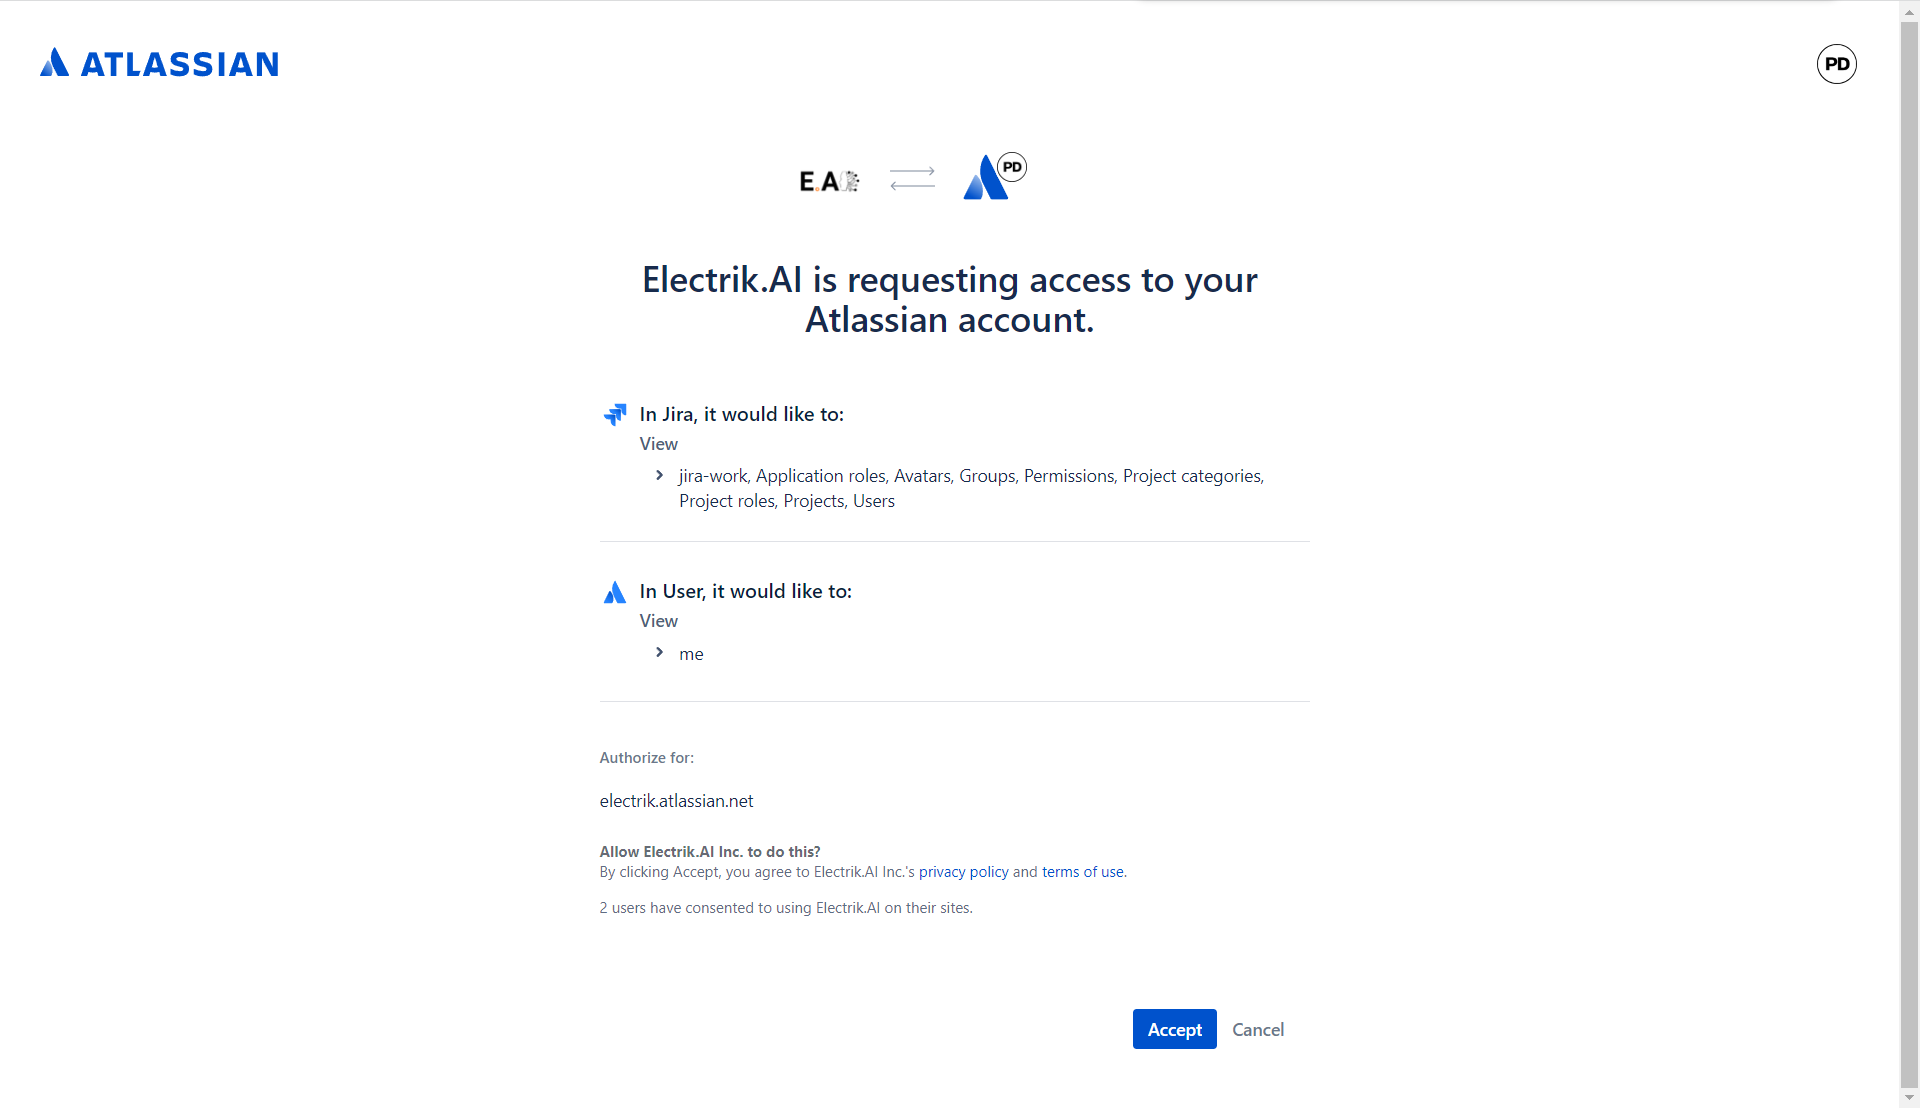
Step 7: Allow Electrik.AI to access your Jira account.
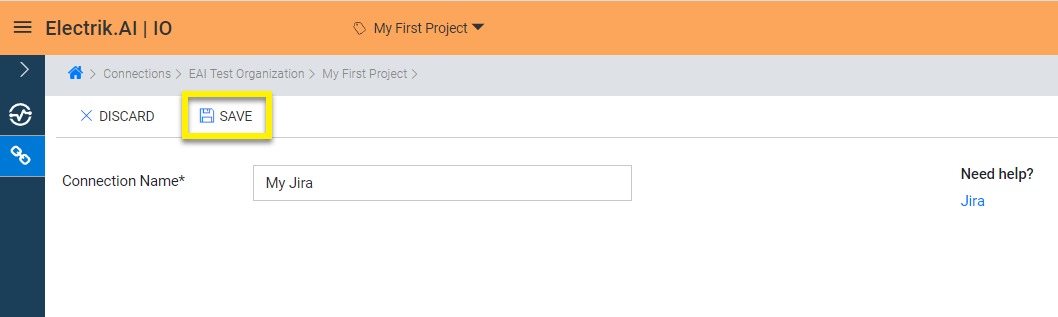
Step 8: Click on Save button on the top.
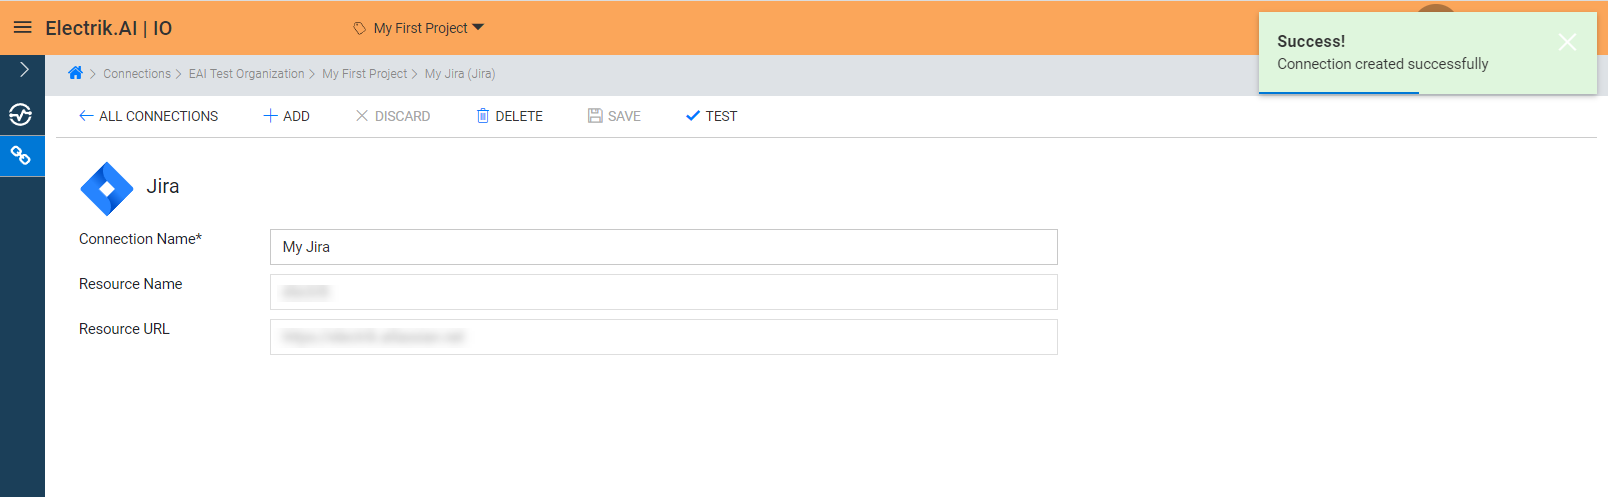
Congratulations, you have now successfully created a Jira Connection in Electrik.AI.
What are the supported Data Destinations?
Electrik.AI supports the following databases to export Jira Data. It is important to note that Electrik.AI itself is not a destination. A destination is required to export data from various marketing data sources using Electrik.AI


How to export Jira Data?
Electrik.AI creates a data flow (or ETL process) that exports Jira reports of your choice to a target database or data warehouse. This process runs daily at scheduled time and exports data for the previous day.
Follow these steps to create a Data Flow from Jira to Database
Step 1: Ensure you have the following prerequisites.
- Access to Jira.
- Jira Account User Id and Password.
- Access to a Database of your choice (PostgreSQL, MySQL, Azure SQL, BigQuery.)
- Database Connection Details such as Host, Port, DB Name, DB User, DB Password.
Step 2: Sign-in into your Electrik.AI account.
Step 3: Select IO in Electrik.AI dashboard.
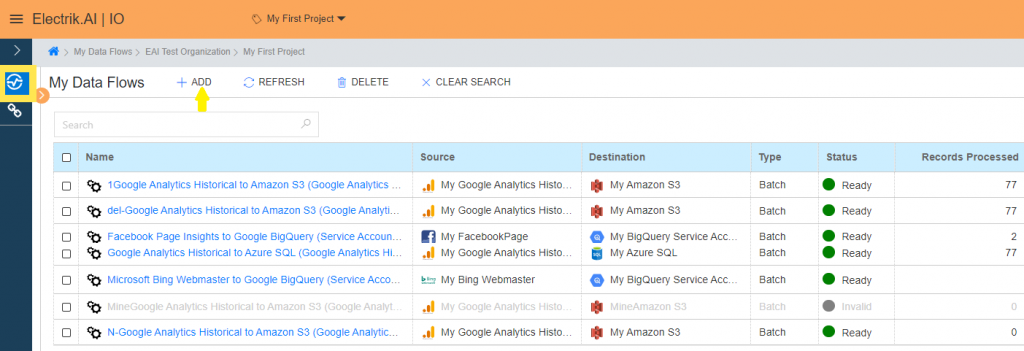
Step 4: Click on Add button to create a Jira Data Extractor Flow.
Step 5: Select Jira Connection present in the list of available sources.
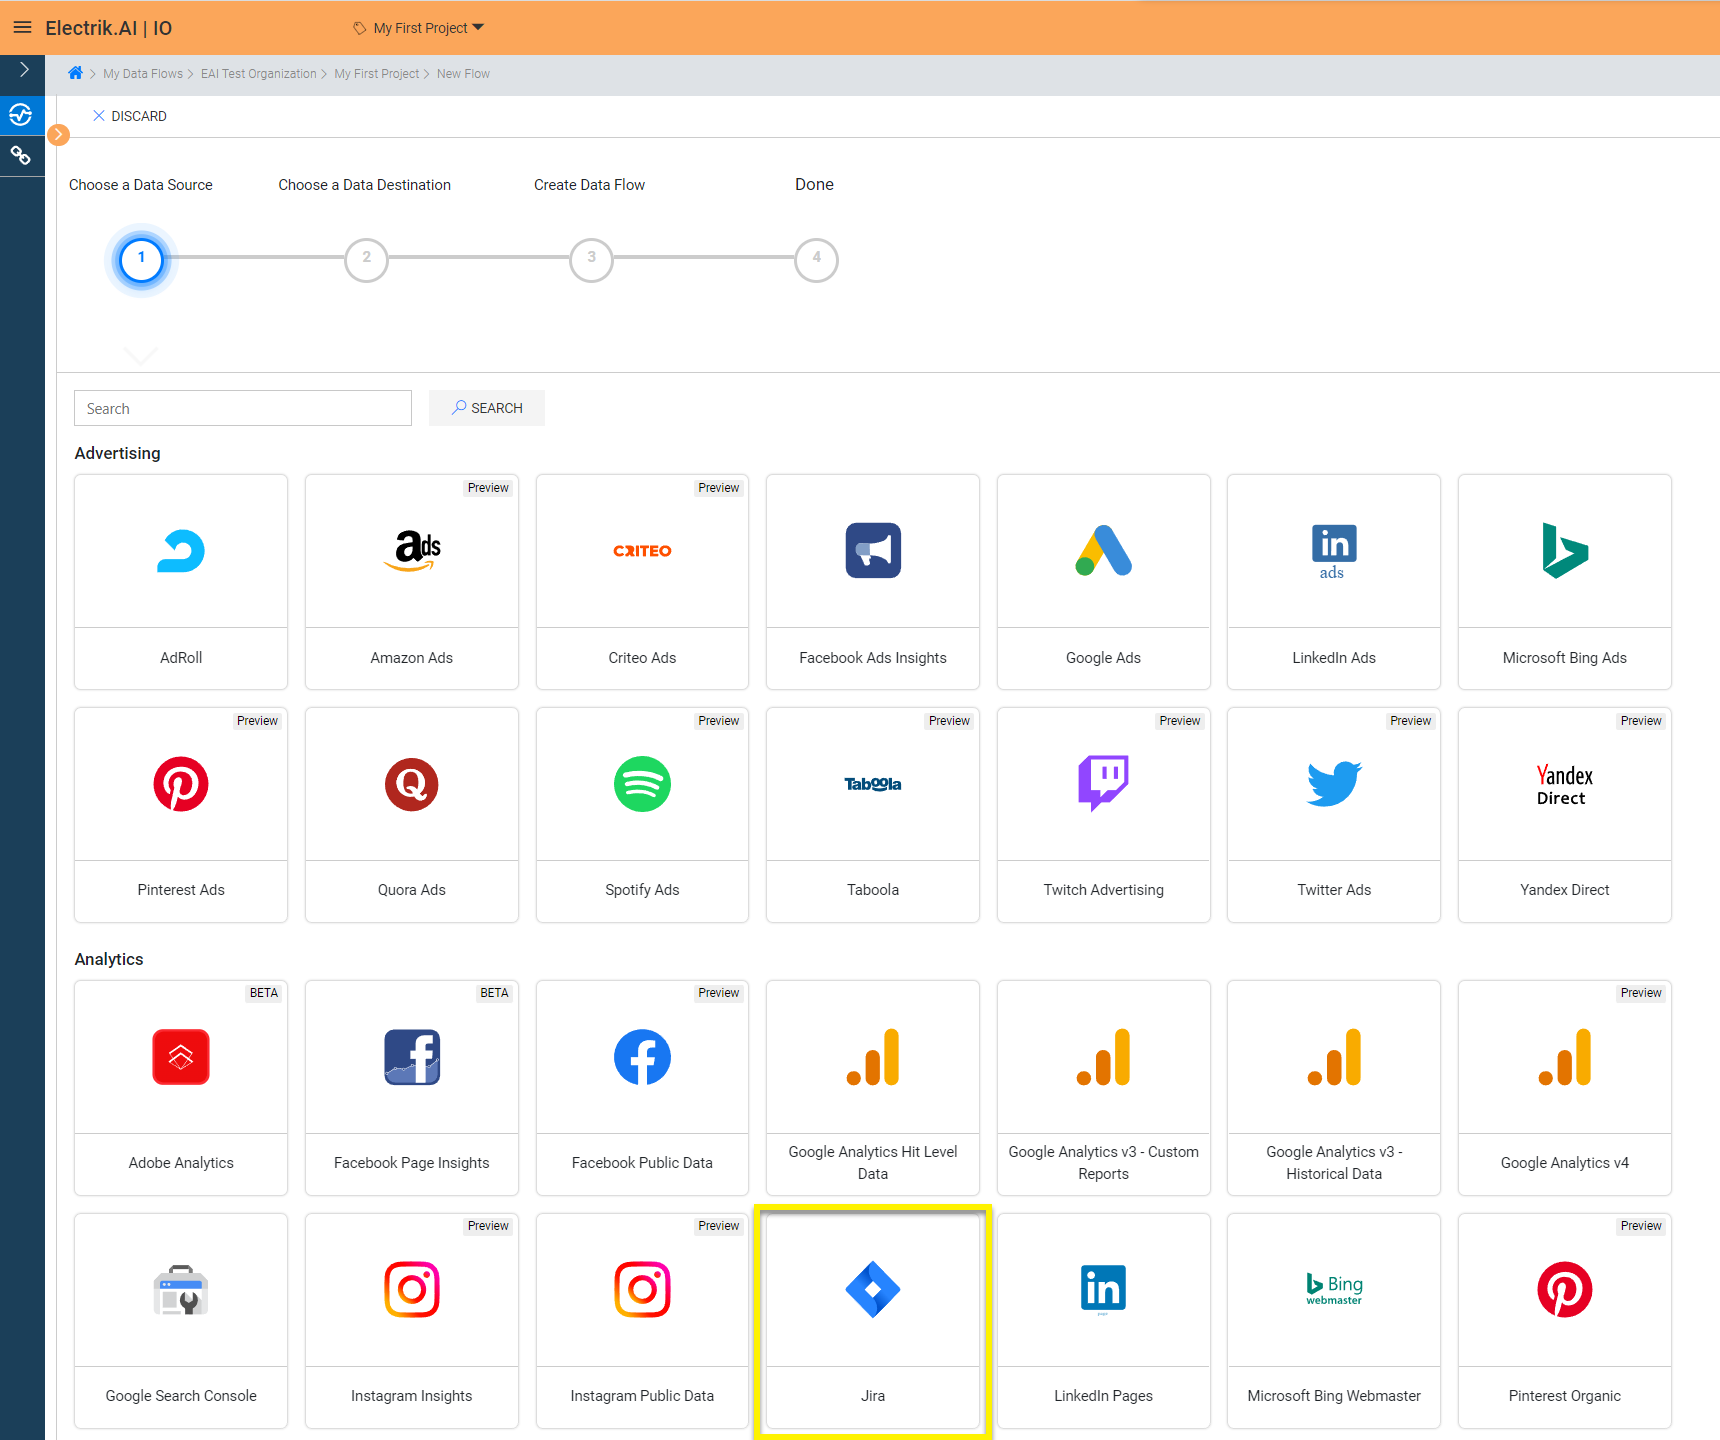
Step 6: Select your existing Jira connection in Electrik.AI.
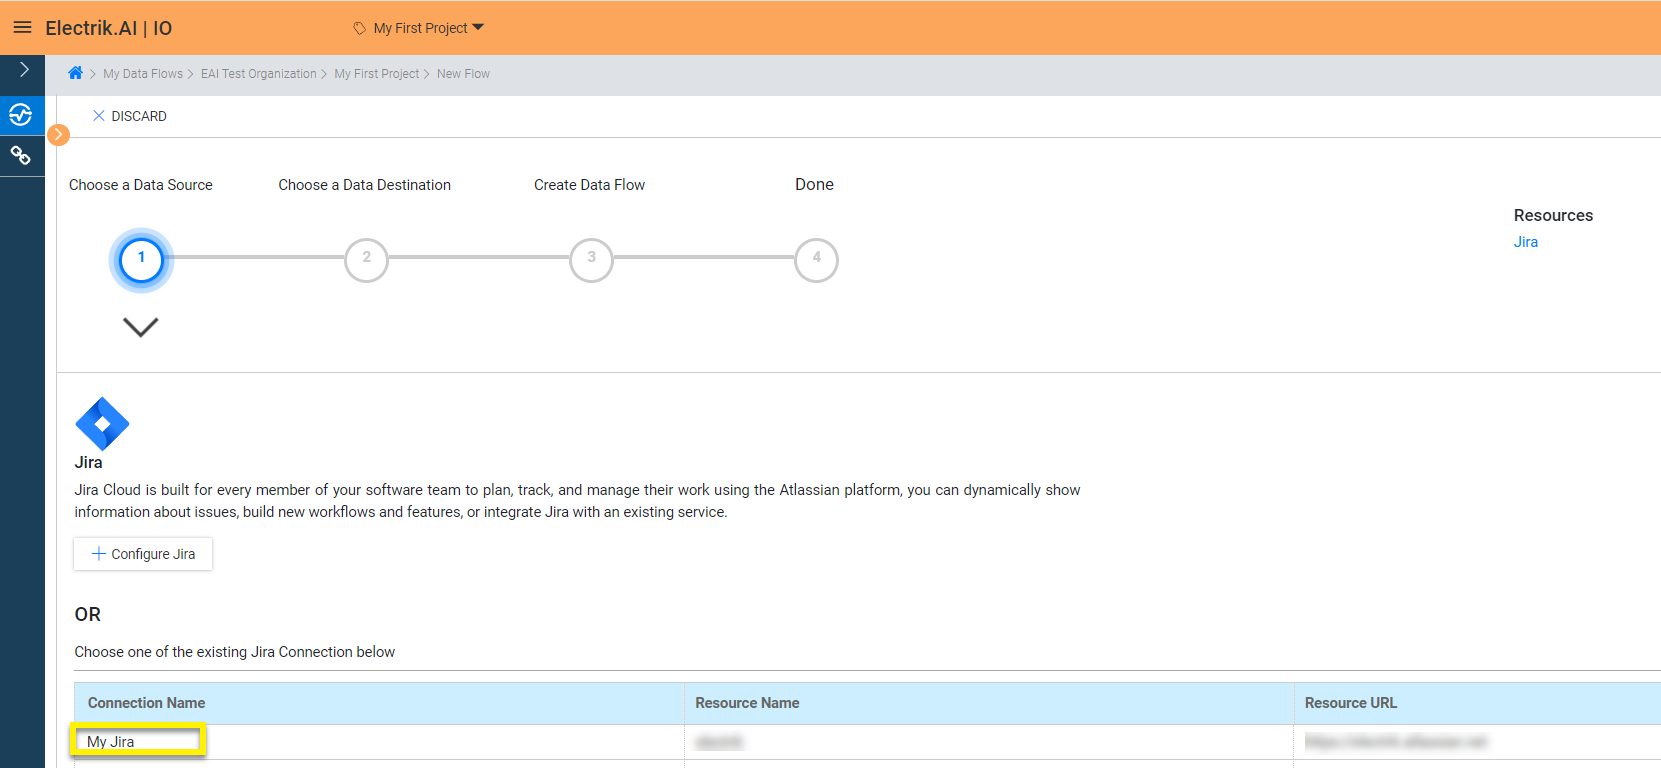
To Configure a new connection, refer to this link.
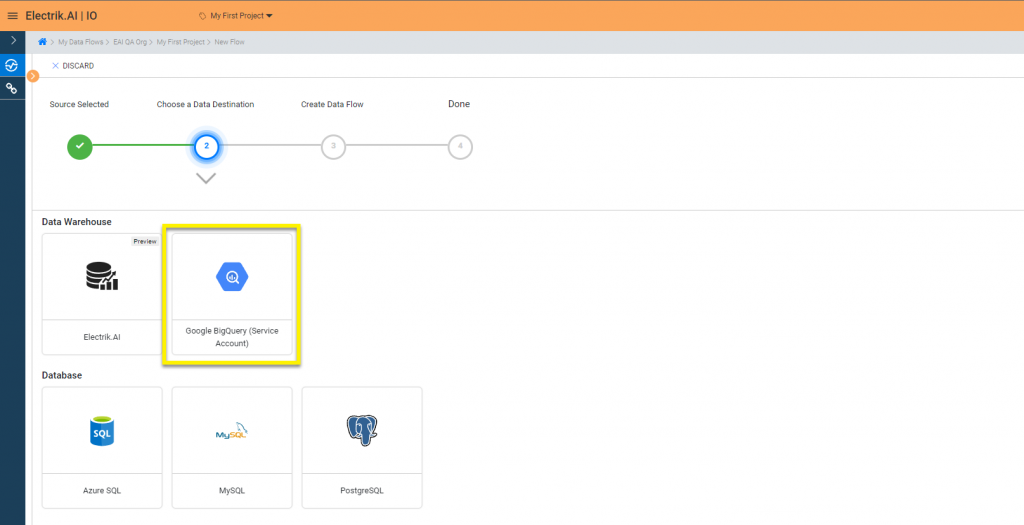
Step 7: Click on a destination of your choice from list of available destinations.
In this example we are choosing BigQuery.
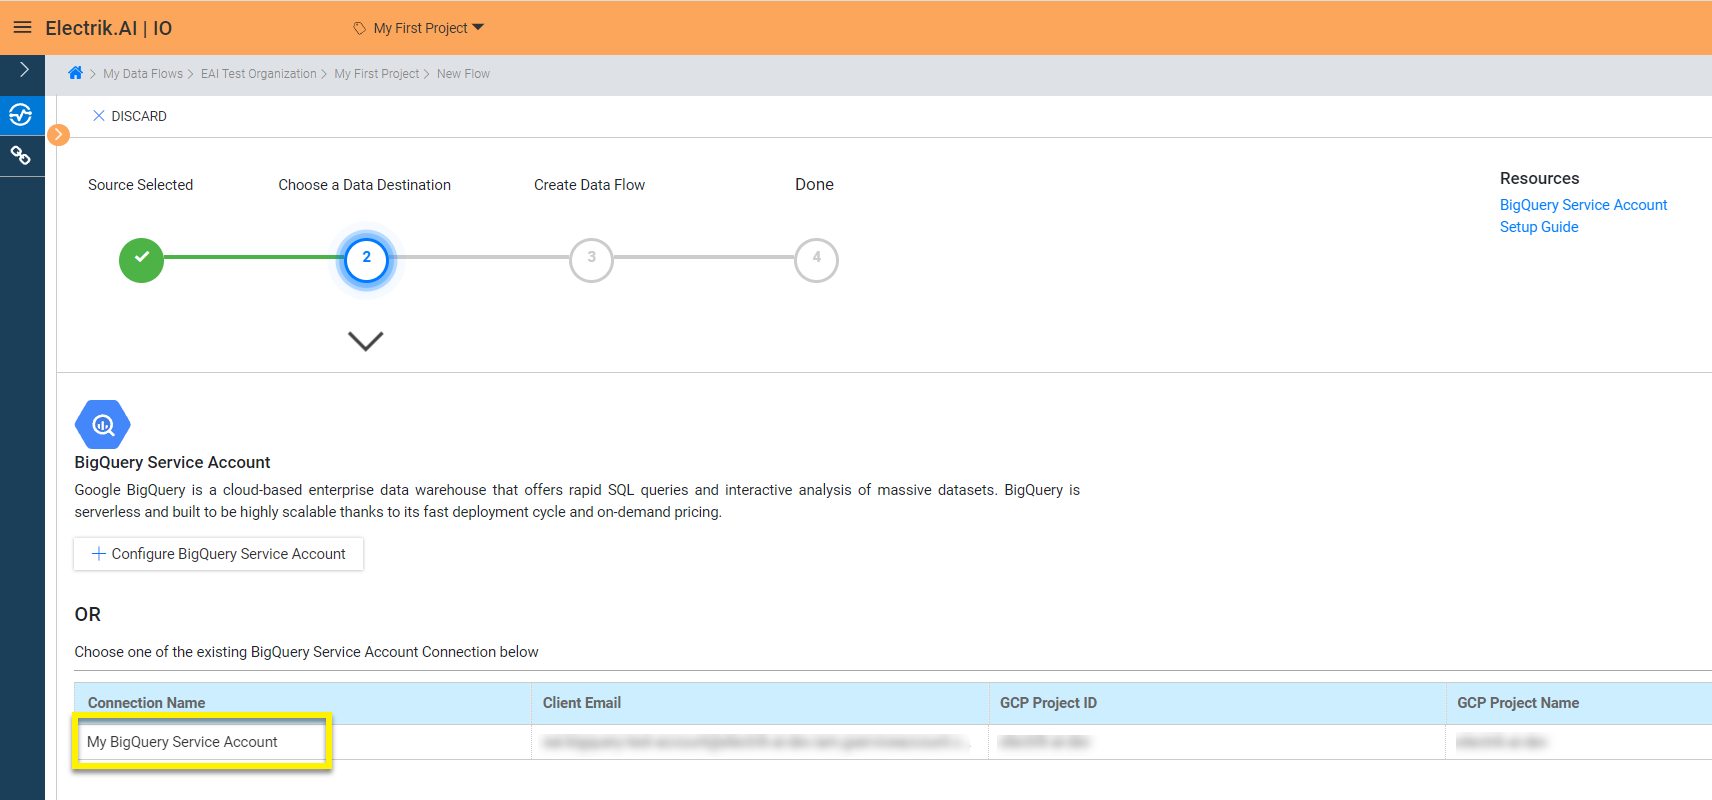
Step 8: Select your existing BigQuery connection in Electrik.AI.
To Configure a new connection, refer to this link.
Step 9:
a. Choose the desired report to get the appropriate data. In this example we are choosing all.
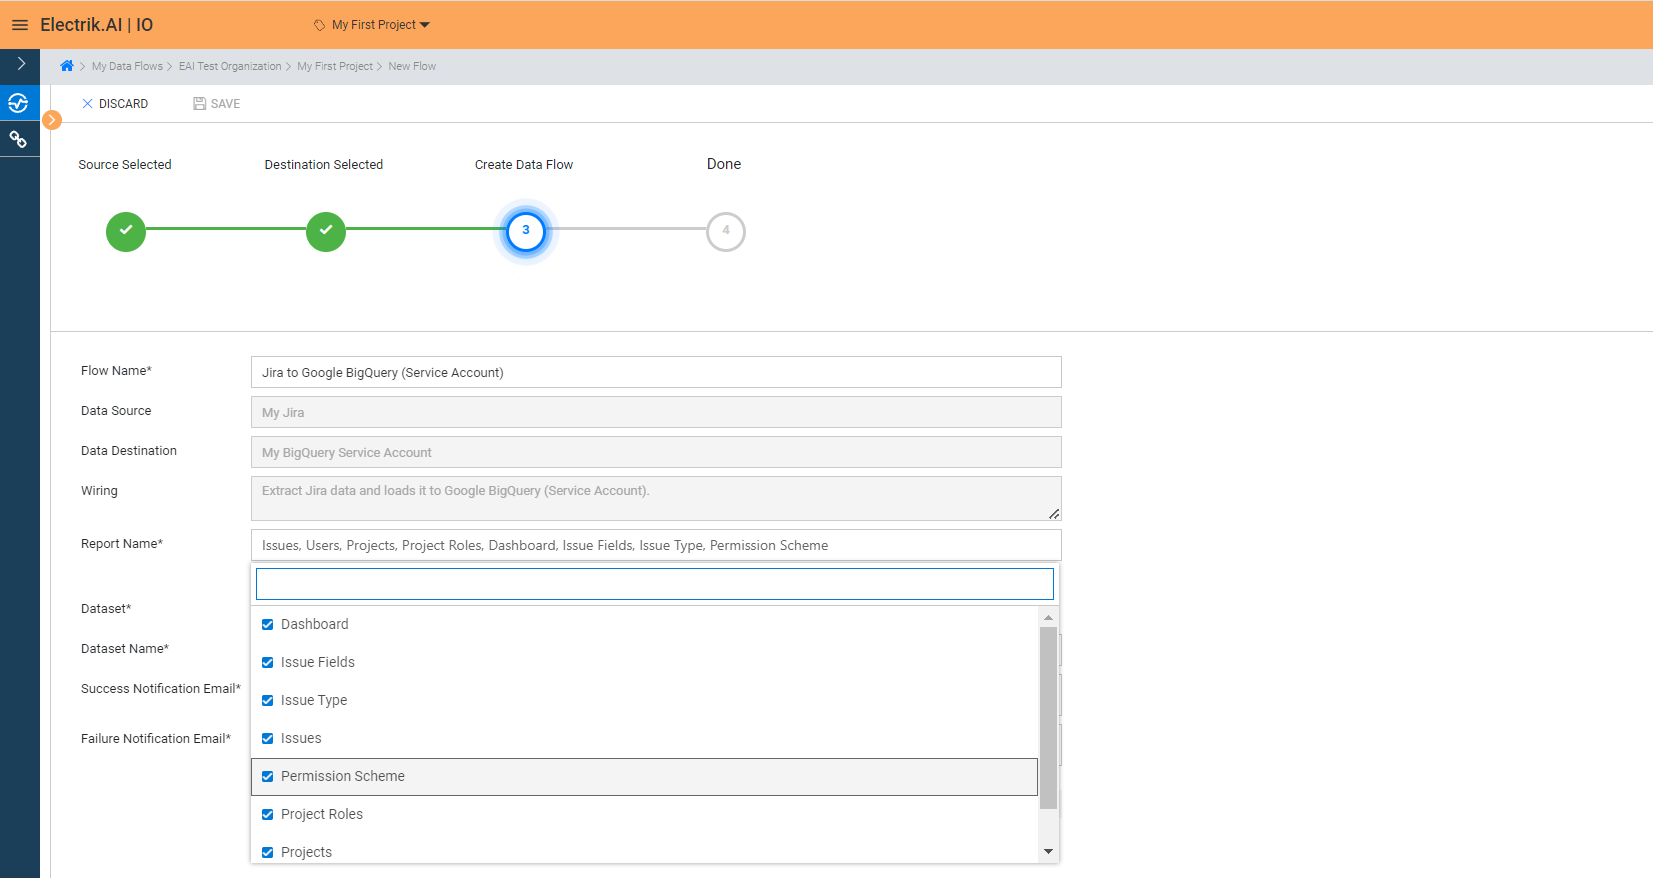
b. Review the Data Source, Data Destination, Database Schema, Provide Success Notification Email, Failure Notification Email. Click “Save and Proceed” to continue.
Success Notification Email: Enter a valid Email ID to receive the Flow Success Email Notification.
Failure Notification Email: Enter a valid Email ID to receive the Flow Failure Email Notification.
Note: By Default, Electrik.AI uses the signed-in user’s Email Id.
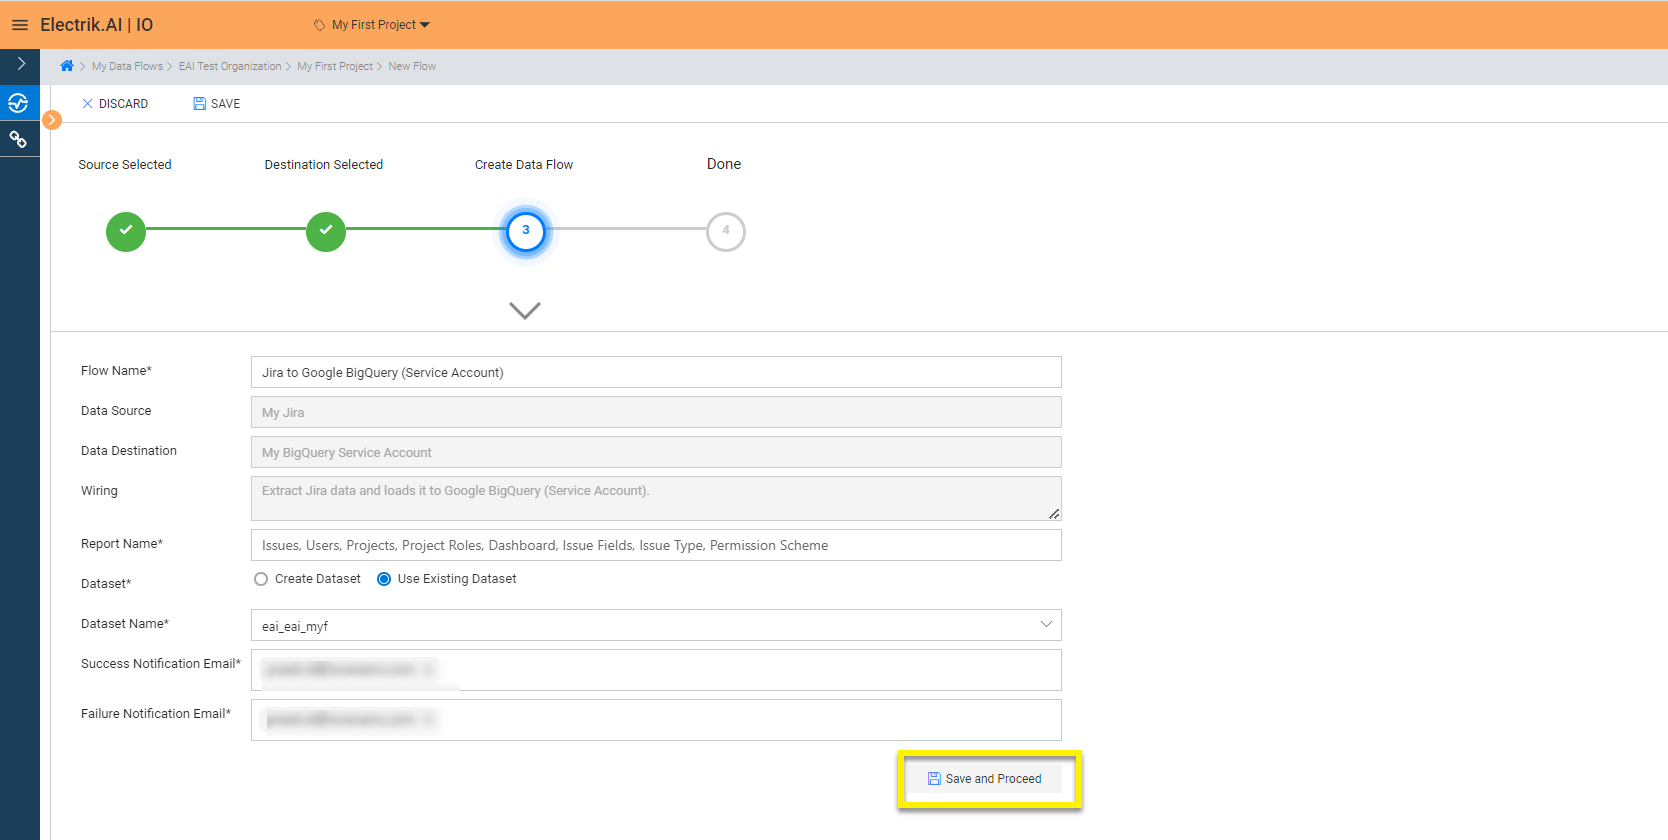
Note: By Default, Electrik.AI chooses an existing Data Set to load your Jira Report. You can create a new Dataset in your bucket by selecting the “Create Data Set” radio button.
Congratulations, Flow is created. Please wait while you are redirected to Flow Details Screen.
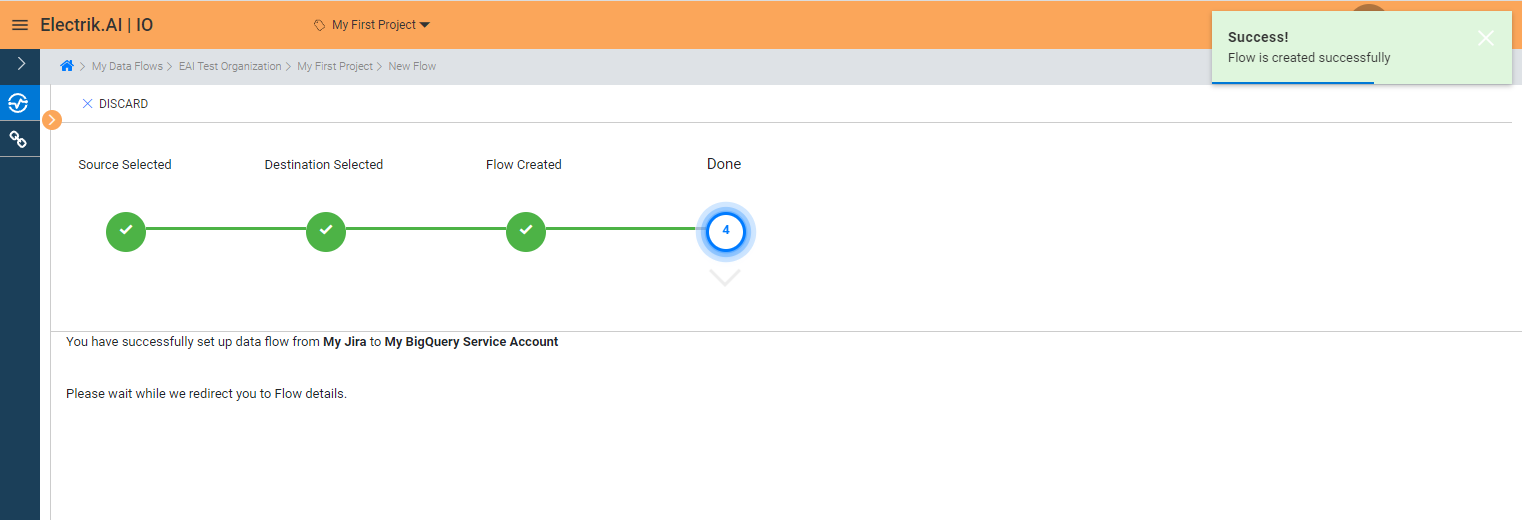
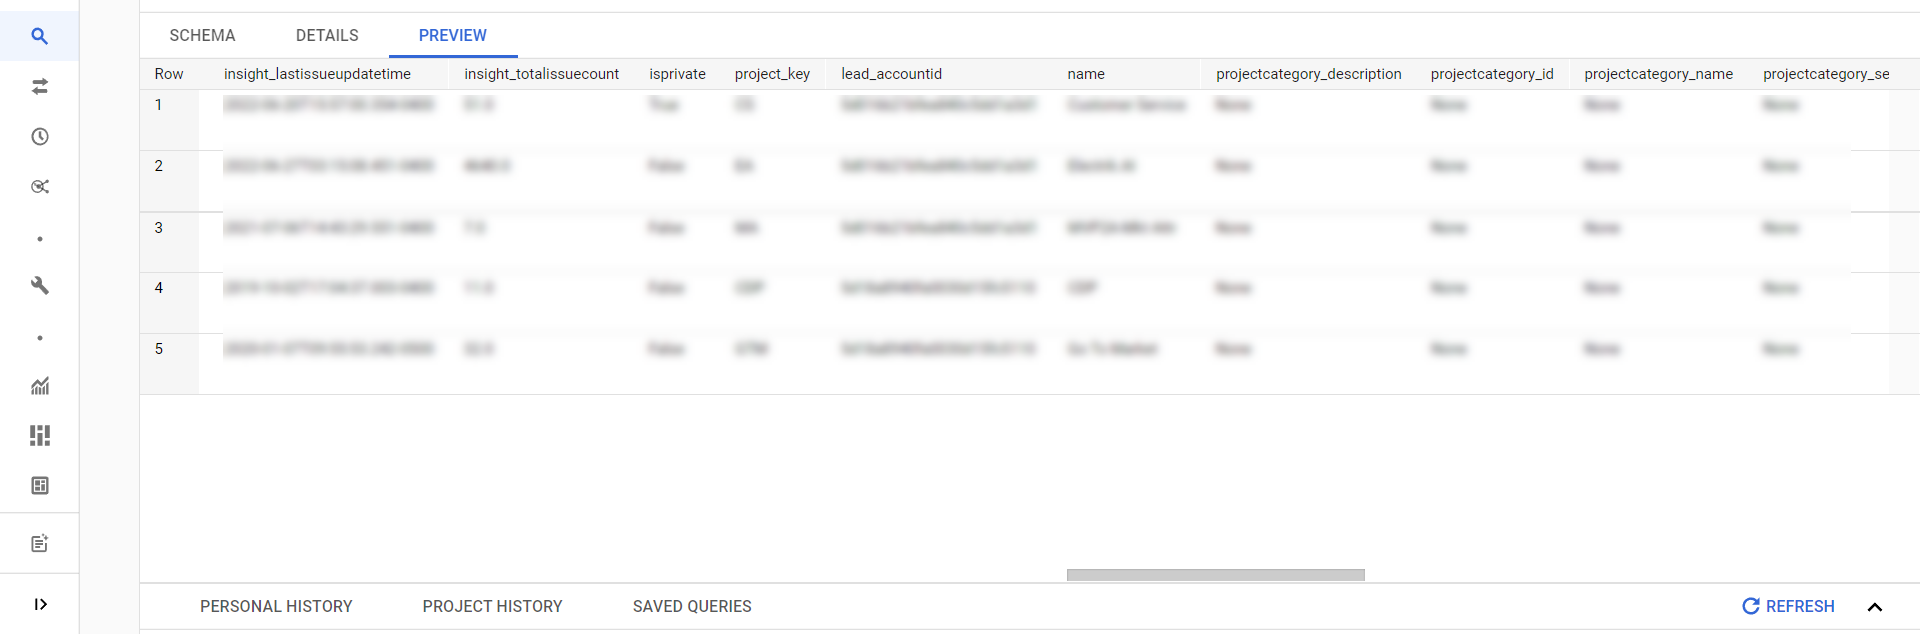
You have now successfully setup Jira to BigQuery Data Warehouse flow in Electrik.AI

Your Jira data will start loading after 24 hours in your Data Set.